

First-time setup
This is a one-time setup path. When you’re done, the home page should show real status and you should be able to open a device detail view.
Before You Start
Section titled “Before You Start”You’ll need:
- a seenzus account;
- a running Home Assistant instance;
- the seenzus bridge integration installed in Home Assistant. If it is not installed yet, follow the HACS Official complete setup.
1. Sign Up Or Log In
Section titled “1. Sign Up Or Log In”Open the seenzus app:
- New users: choose Sign up and enter your name, email, and password.
- Existing users: log in with email and password, or continue with GitHub / Google.
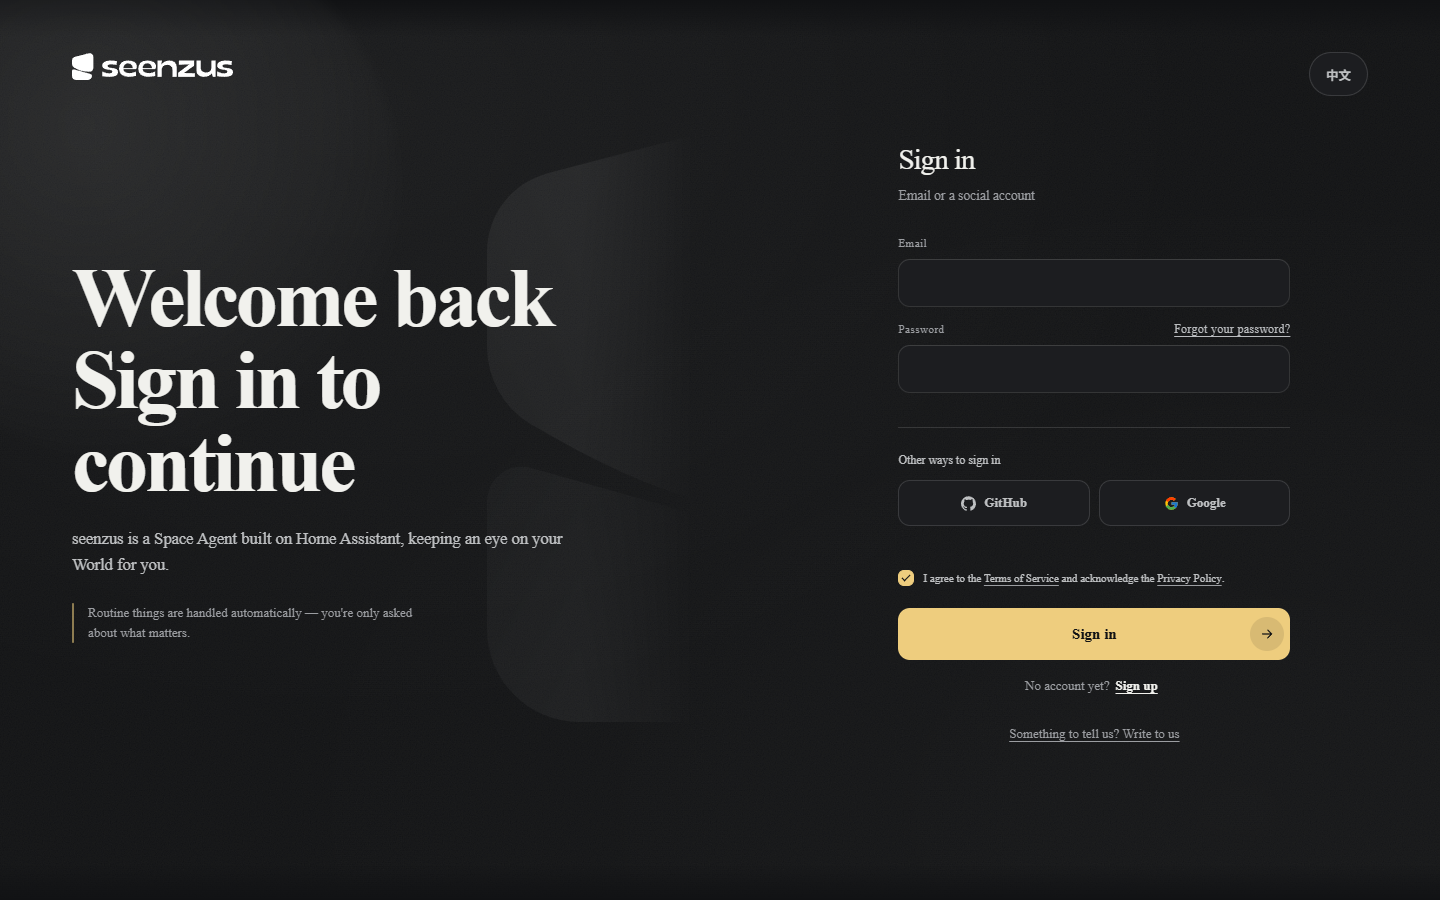
When you’re done, you’ll land on the home page with a default Smart Space.
2. Connect Home Assistant
Section titled “2. Connect Home Assistant”Go to Integrations → Connect a Source. We recommend Quick pair: start pairing from the seenzus bridge integration in Home Assistant, then confirm the authorization page that opens in your browser.
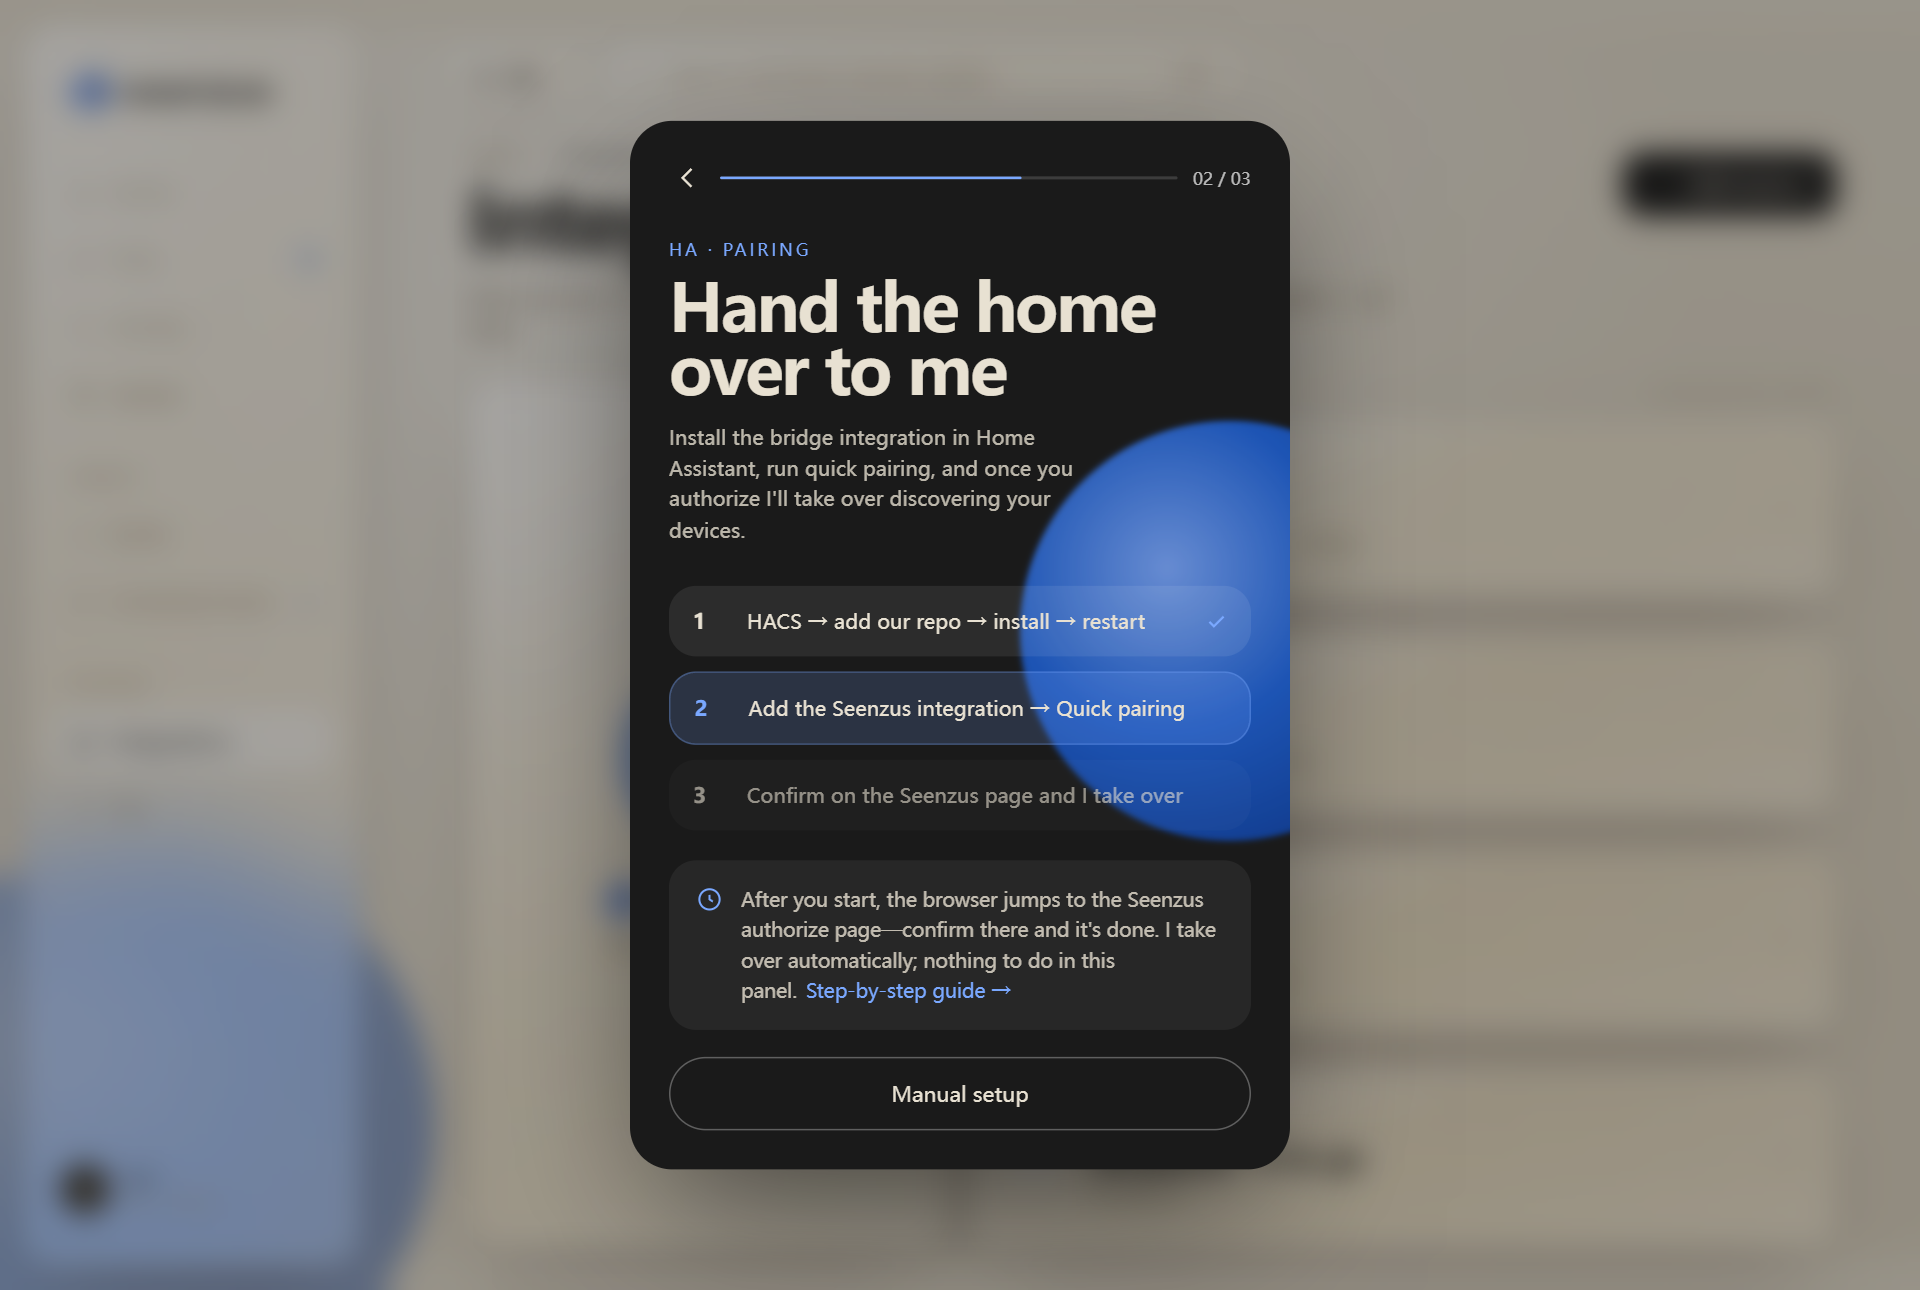
If the bridge is not installed yet, complete the HACS Official setup first.
3. Confirm The Home Page Has Status
Section titled “3. Confirm The Home Page Has Status”Return to Home. If the connection works, you’ll see current space status, anything that needs your attention, and recent activity.
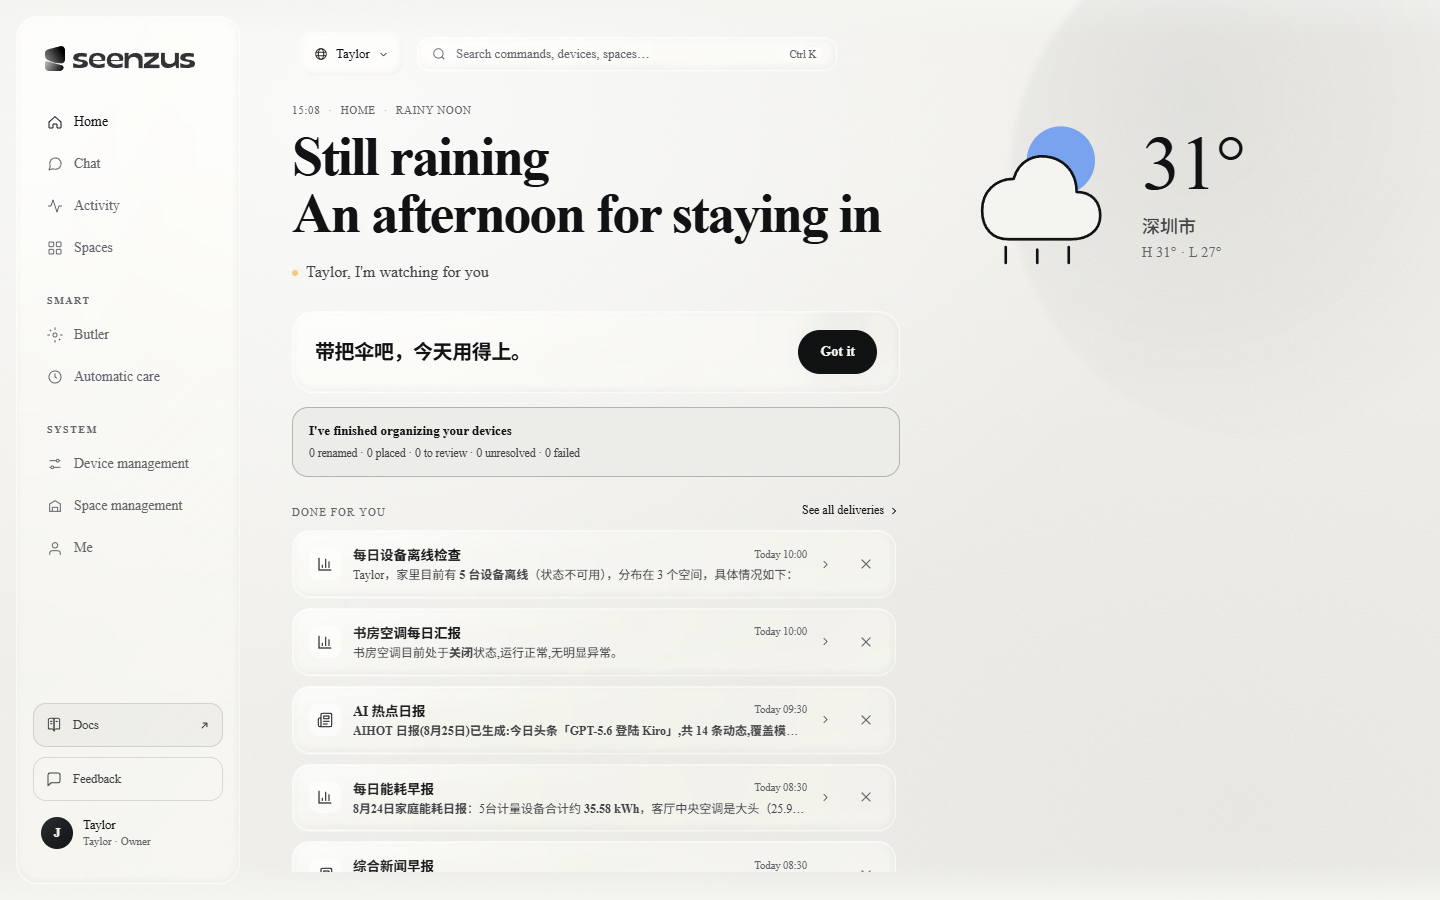
If you see real readings or device status, the first connection is working.
4. Organize Sites And Rooms
Section titled “4. Organize Sites And Rooms”Go to Spaces and check that devices are in the right Site and room. To create or rename a Site, use Manage Sites.
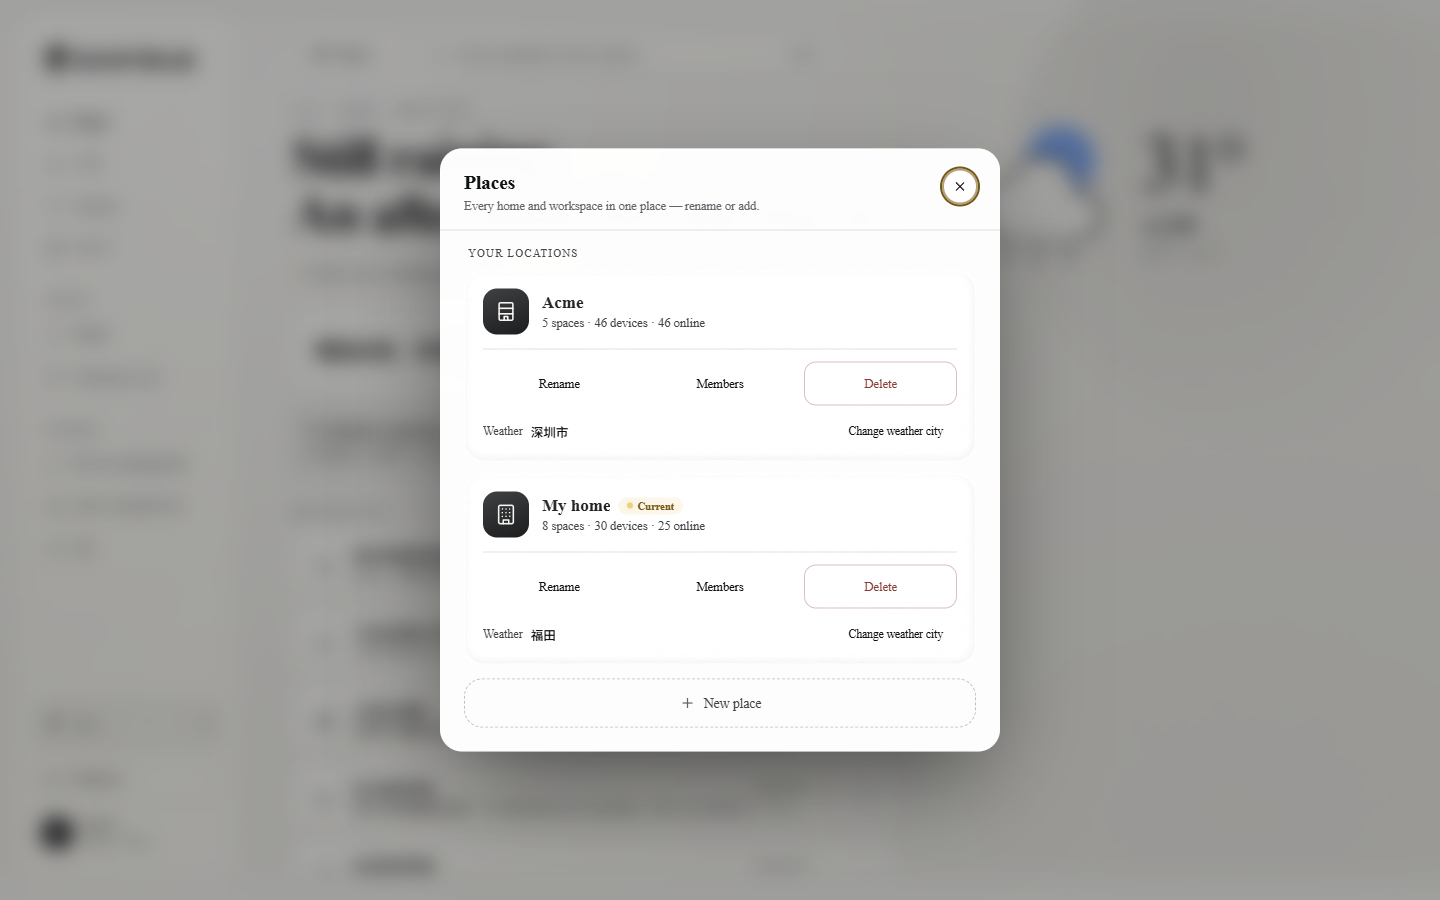
If you only manage one place, keep the default home.
5. Open Your First Device
Section titled “5. Open Your First Device”On the Spaces page, choose a device. The detail drawer shows controls, readings, and activity.
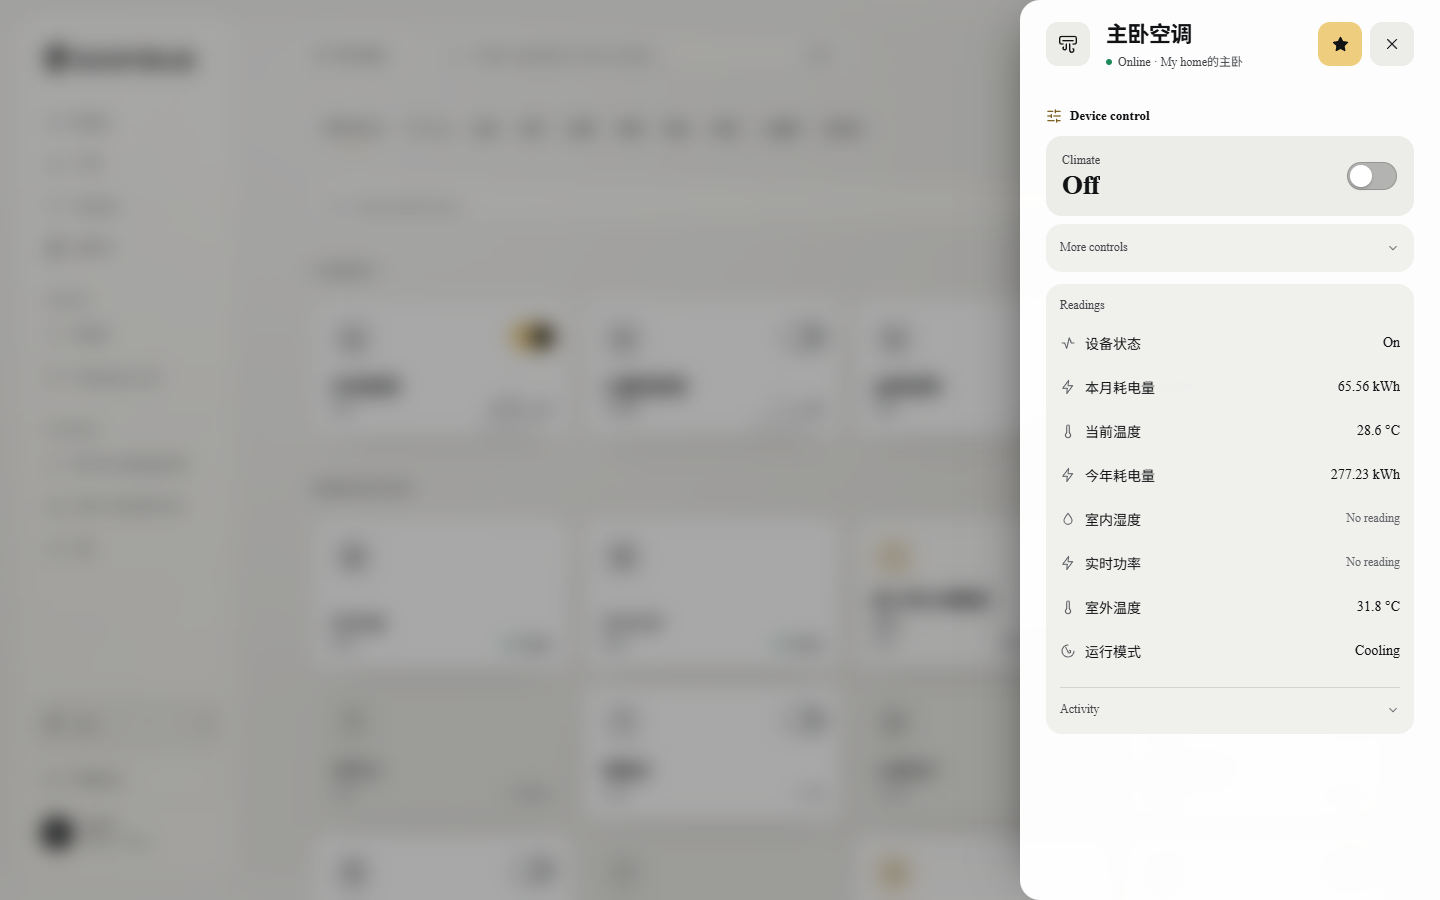
If the state updates, seenzus can read that device. For actions like switching or temperature changes, it asks for approval before acting.
6. Next Steps
Section titled “6. Next Steps”That is enough for first setup. Continue where you need:
- Make names easier to use: Sites and Spaces.
- Understand the home page: Home.
- Set action boundaries: Rules.
- Fix missing or offline devices: Troubleshooting.