

Connect Home Assistant with HACS Turbo
After these 3 steps, Home Assistant appears in seenzus as a Connected Source and begins syncing devices and state.
Install HACS → Install Bridge → Pair in seenzus
1. Install HACS Turbo
Section titled “1. Install HACS Turbo”Turbo only works with Donggua HAOS when this address opens:
http://homeassistant.local:8124If the default address fails, replace homeassistant.local with the HA IP; if it still fails, use the HACS Official complete setup.
Follow one video to install and enable HACS
Section titled “Follow one video to install and enable HACS”Done when: HACS appears in the Home Assistant sidebar.
2. Install seenzus MQTT Bridge
Section titled “2. Install seenzus MQTT Bridge”Copy this one-click URL and open it in your browser:
http://homeassistant.local:8123/_my_redirect/hacs_repository?owner=walllbf&repository=seenzus-mqtt-bridge&category=integrationOnly replace homeassistant.local with the HA IP if the default address does not open.
Done when: Bridge has downloaded and you have followed the final video step to restart all of Home Assistant. Refreshing the page is not a restart.
If the one-click URL fails, see other Bridge installation methods.
3. Return to seenzus and pair
Section titled “3. Return to seenzus and pair”Open Integrations → Add Source → Pair in seenzus. Start here instead of searching manually in Home Assistant.
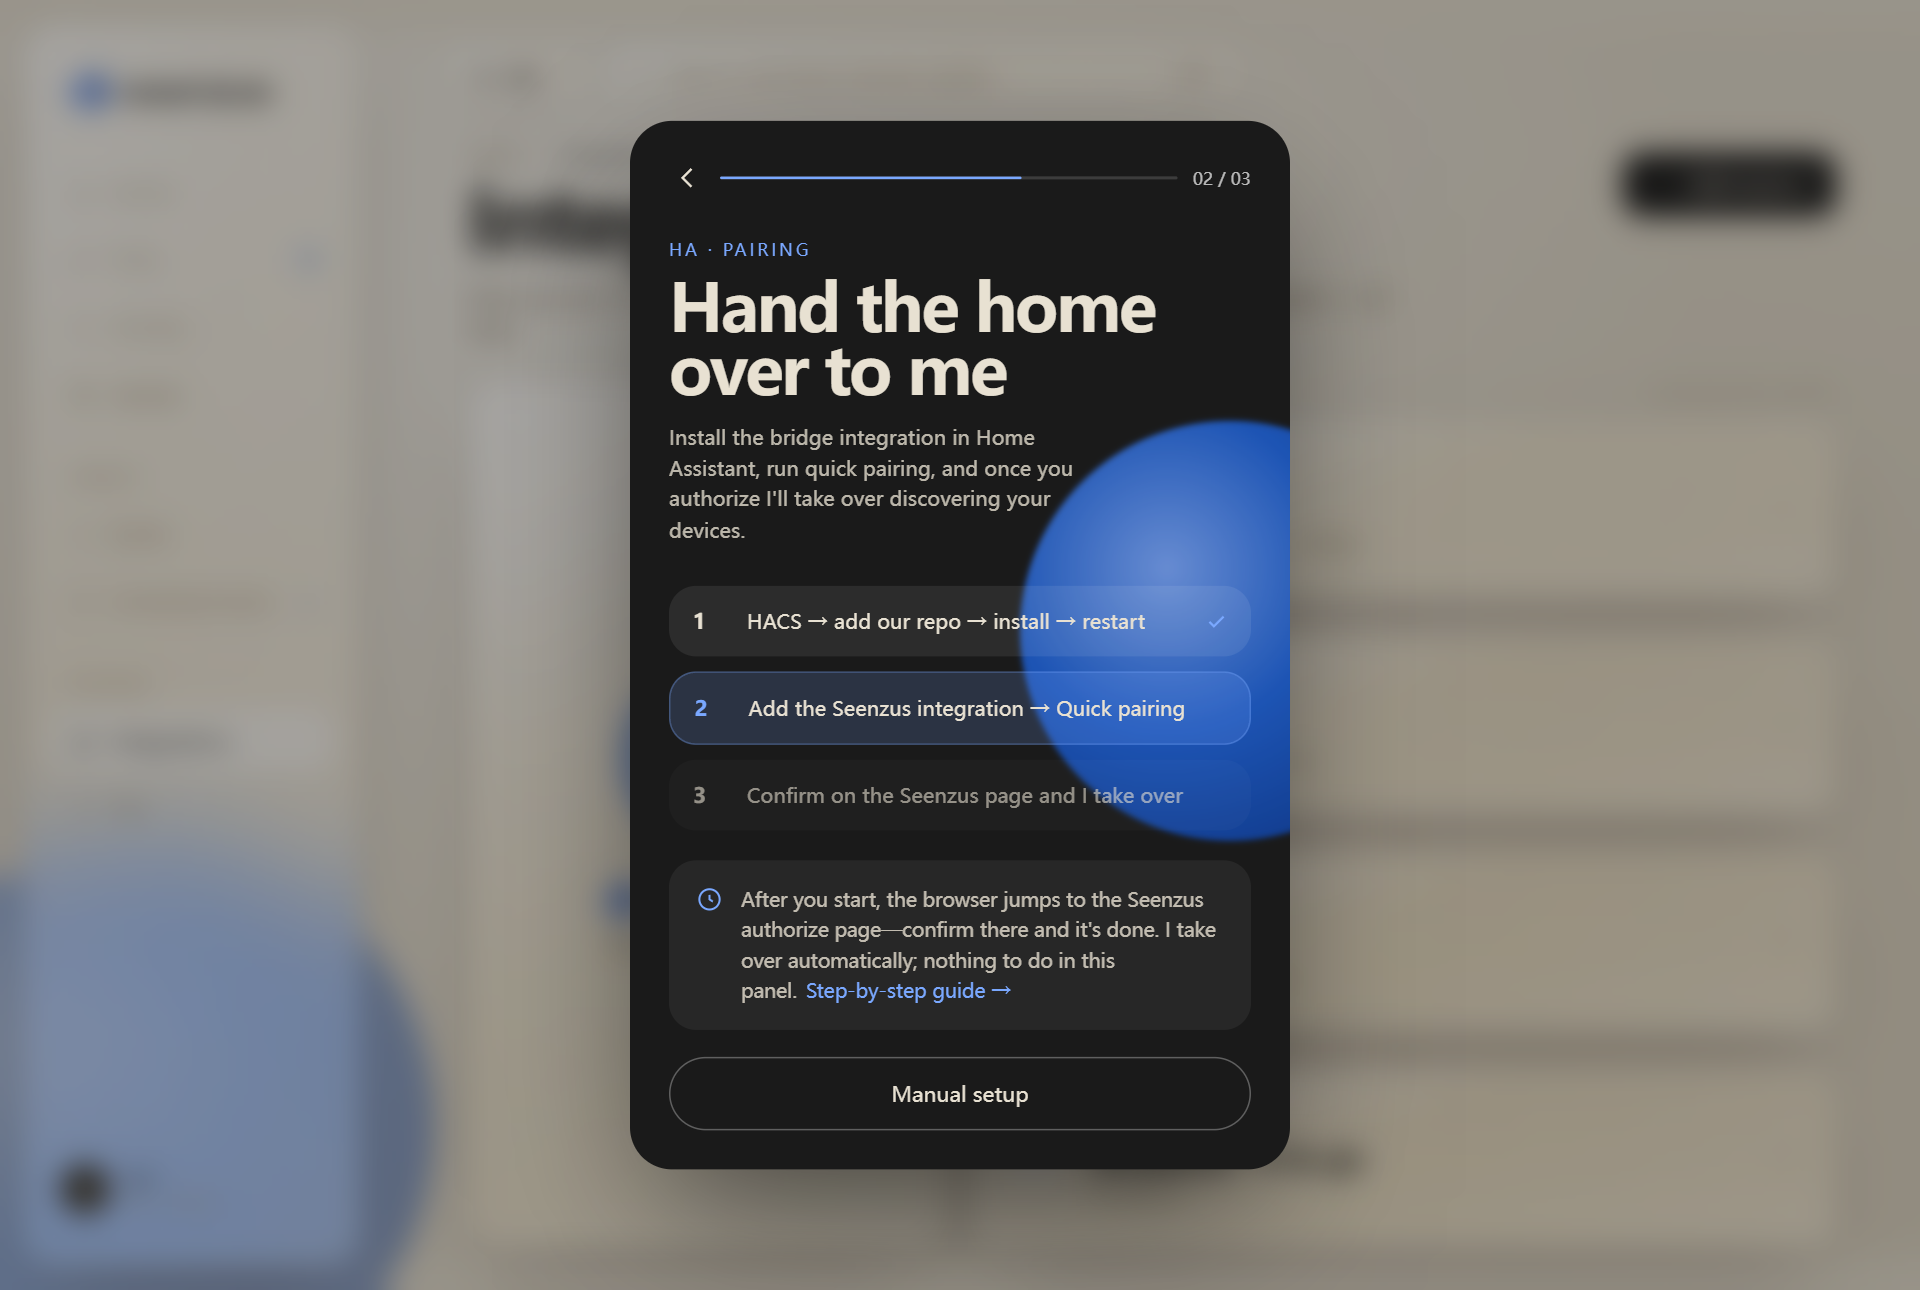
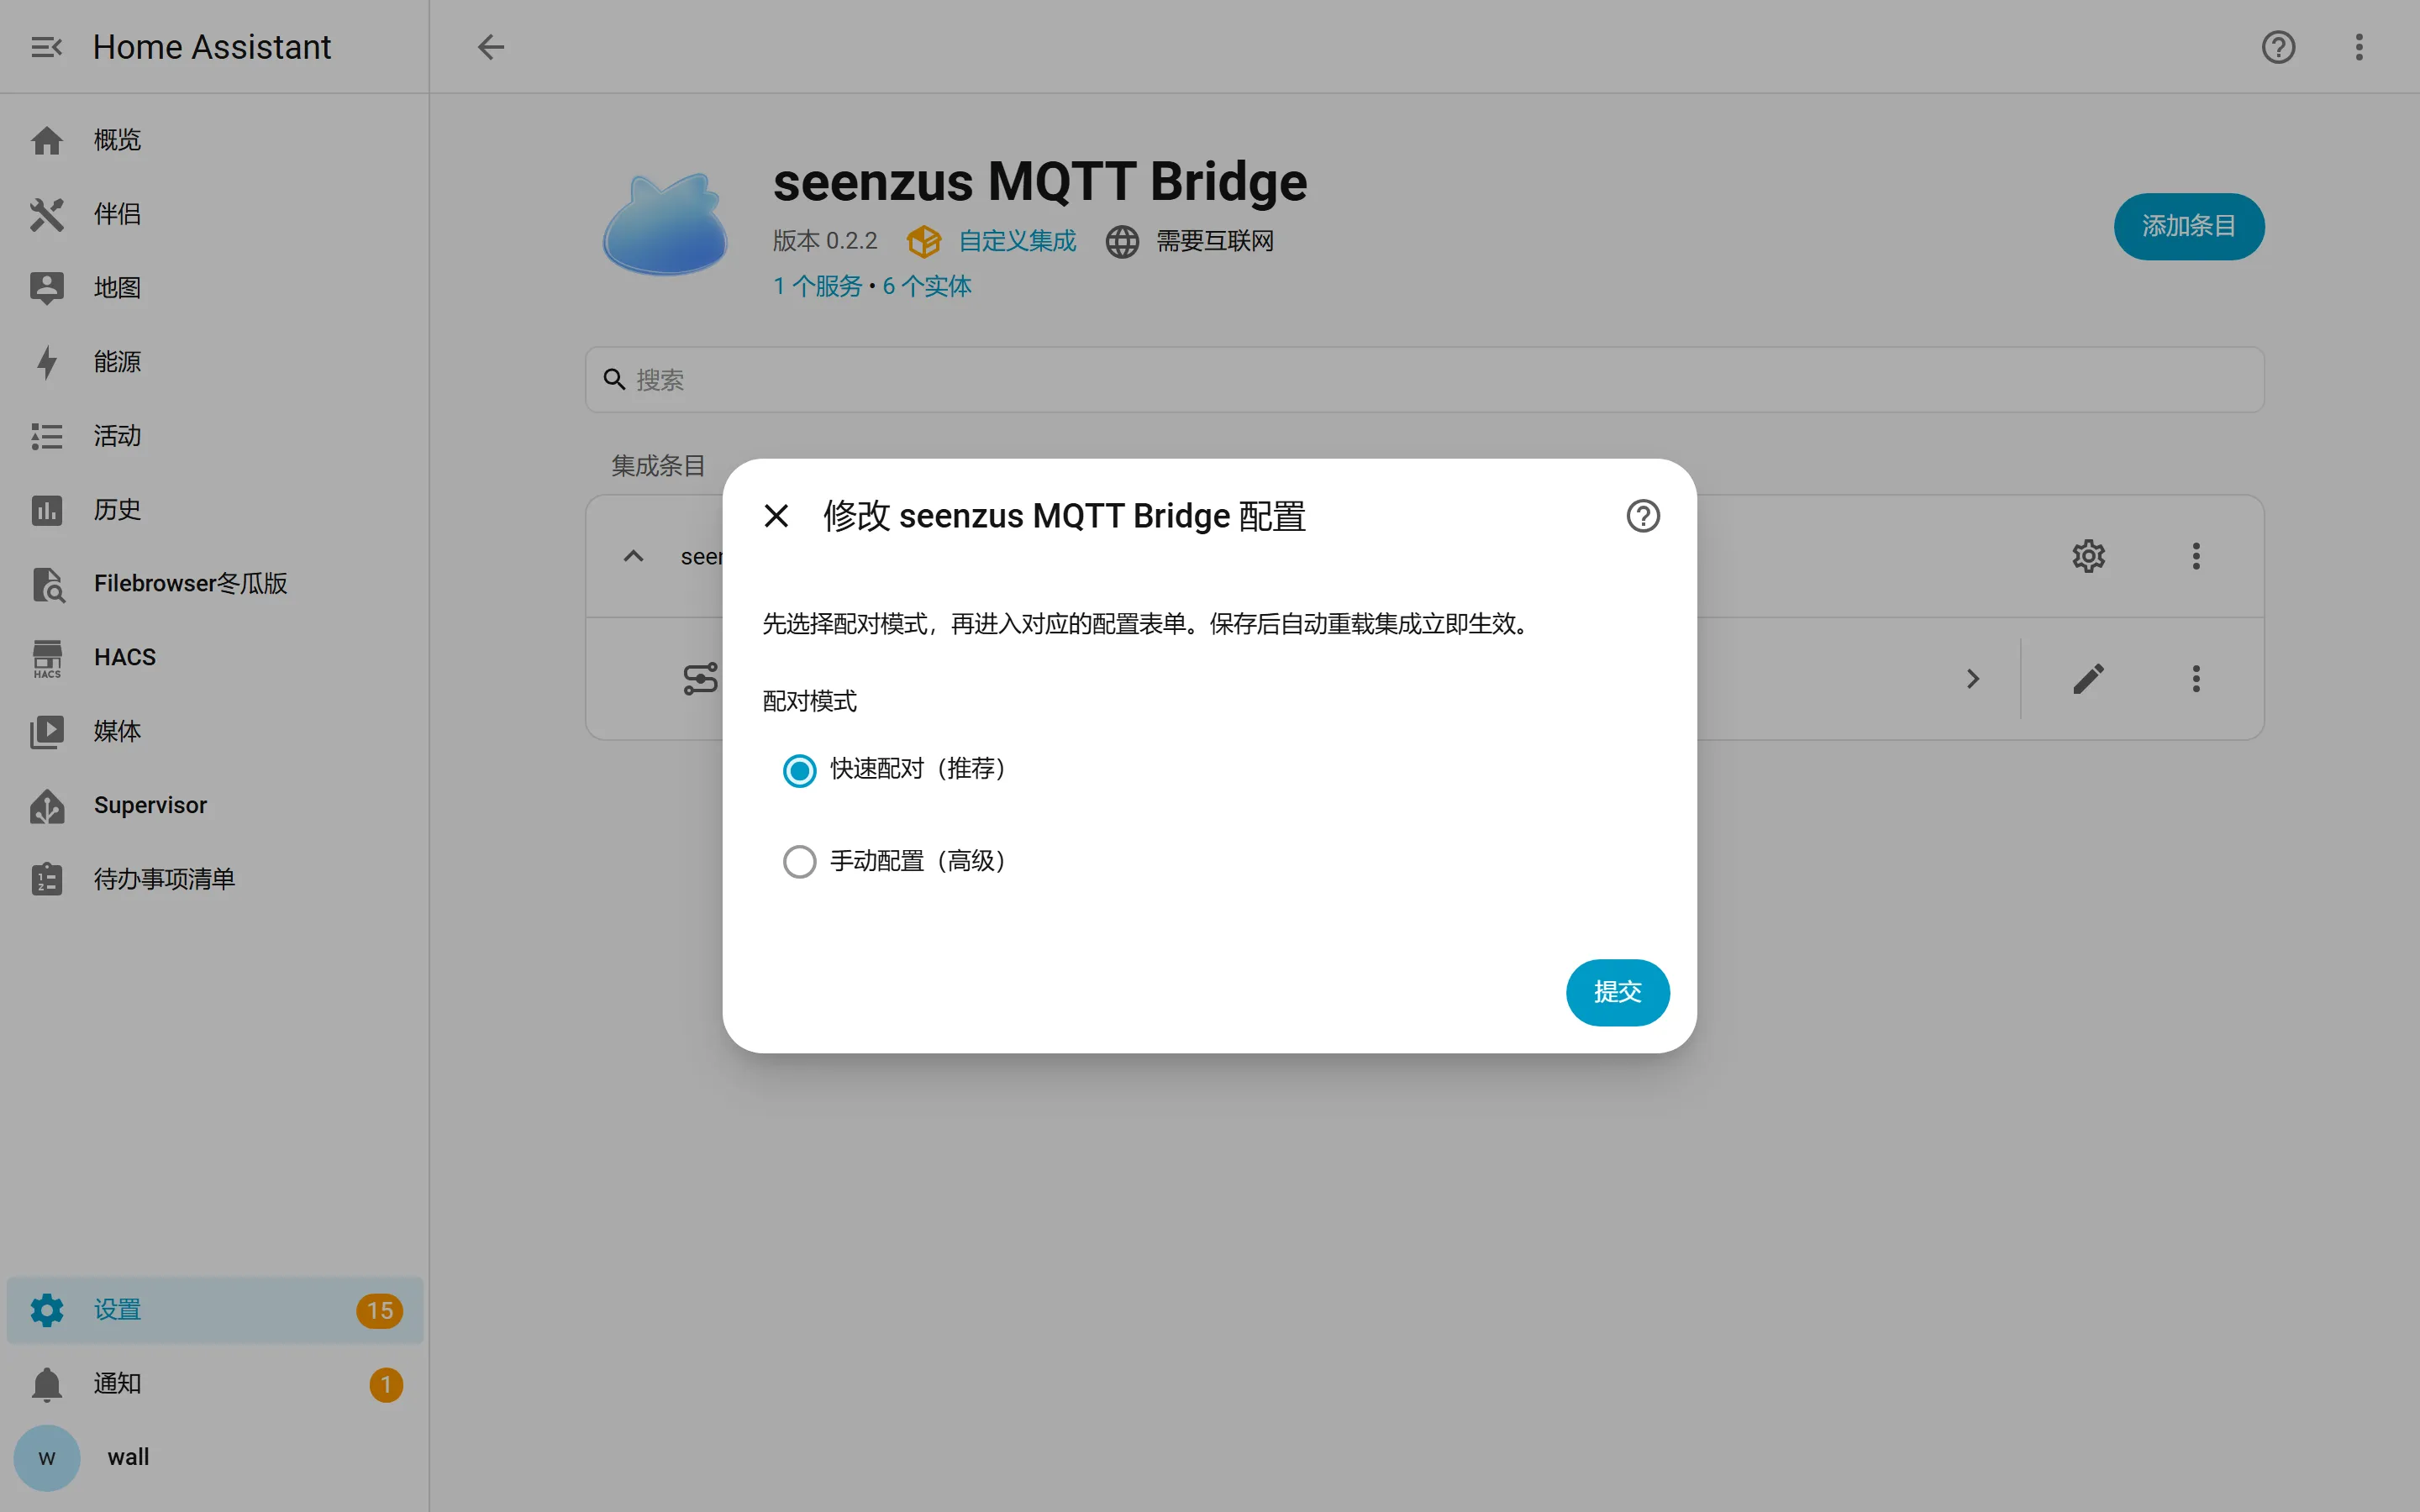
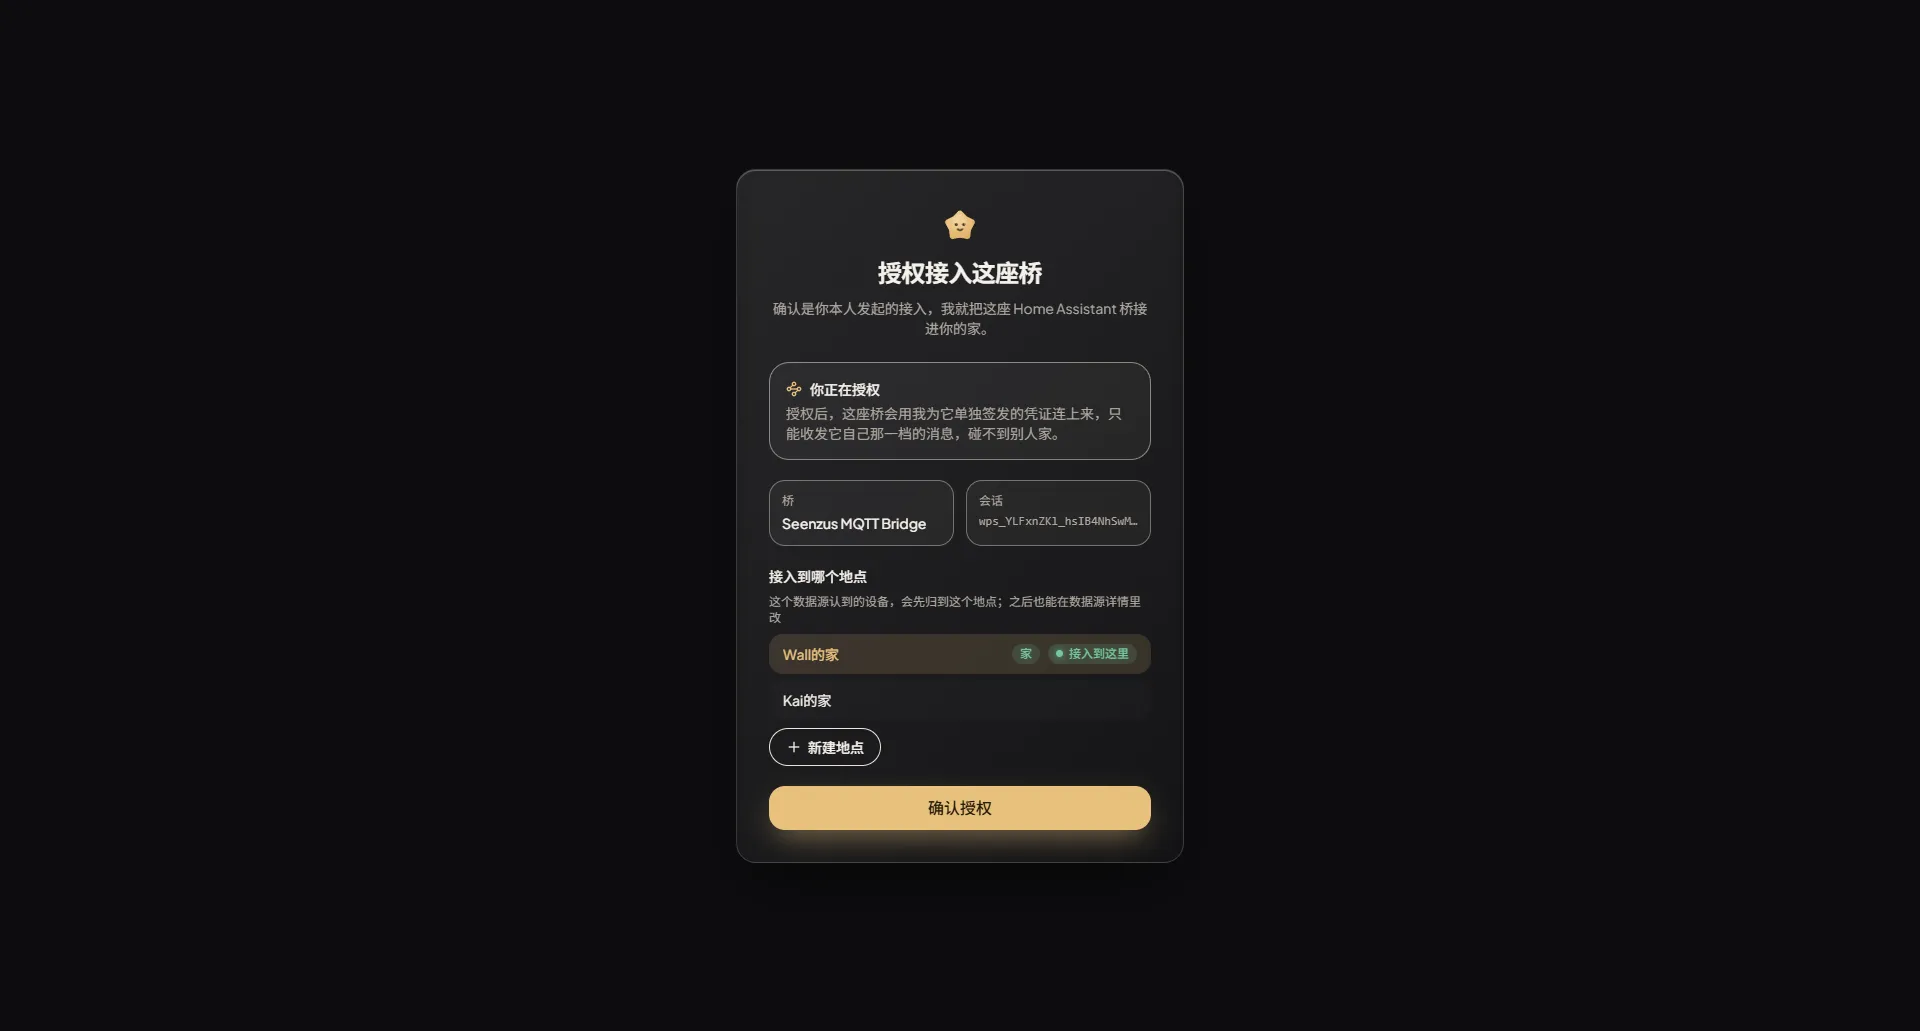
Choose Quick Pair (recommended) in Home Assistant, sign in to seenzus, and approve the request. No MQTT settings are required.
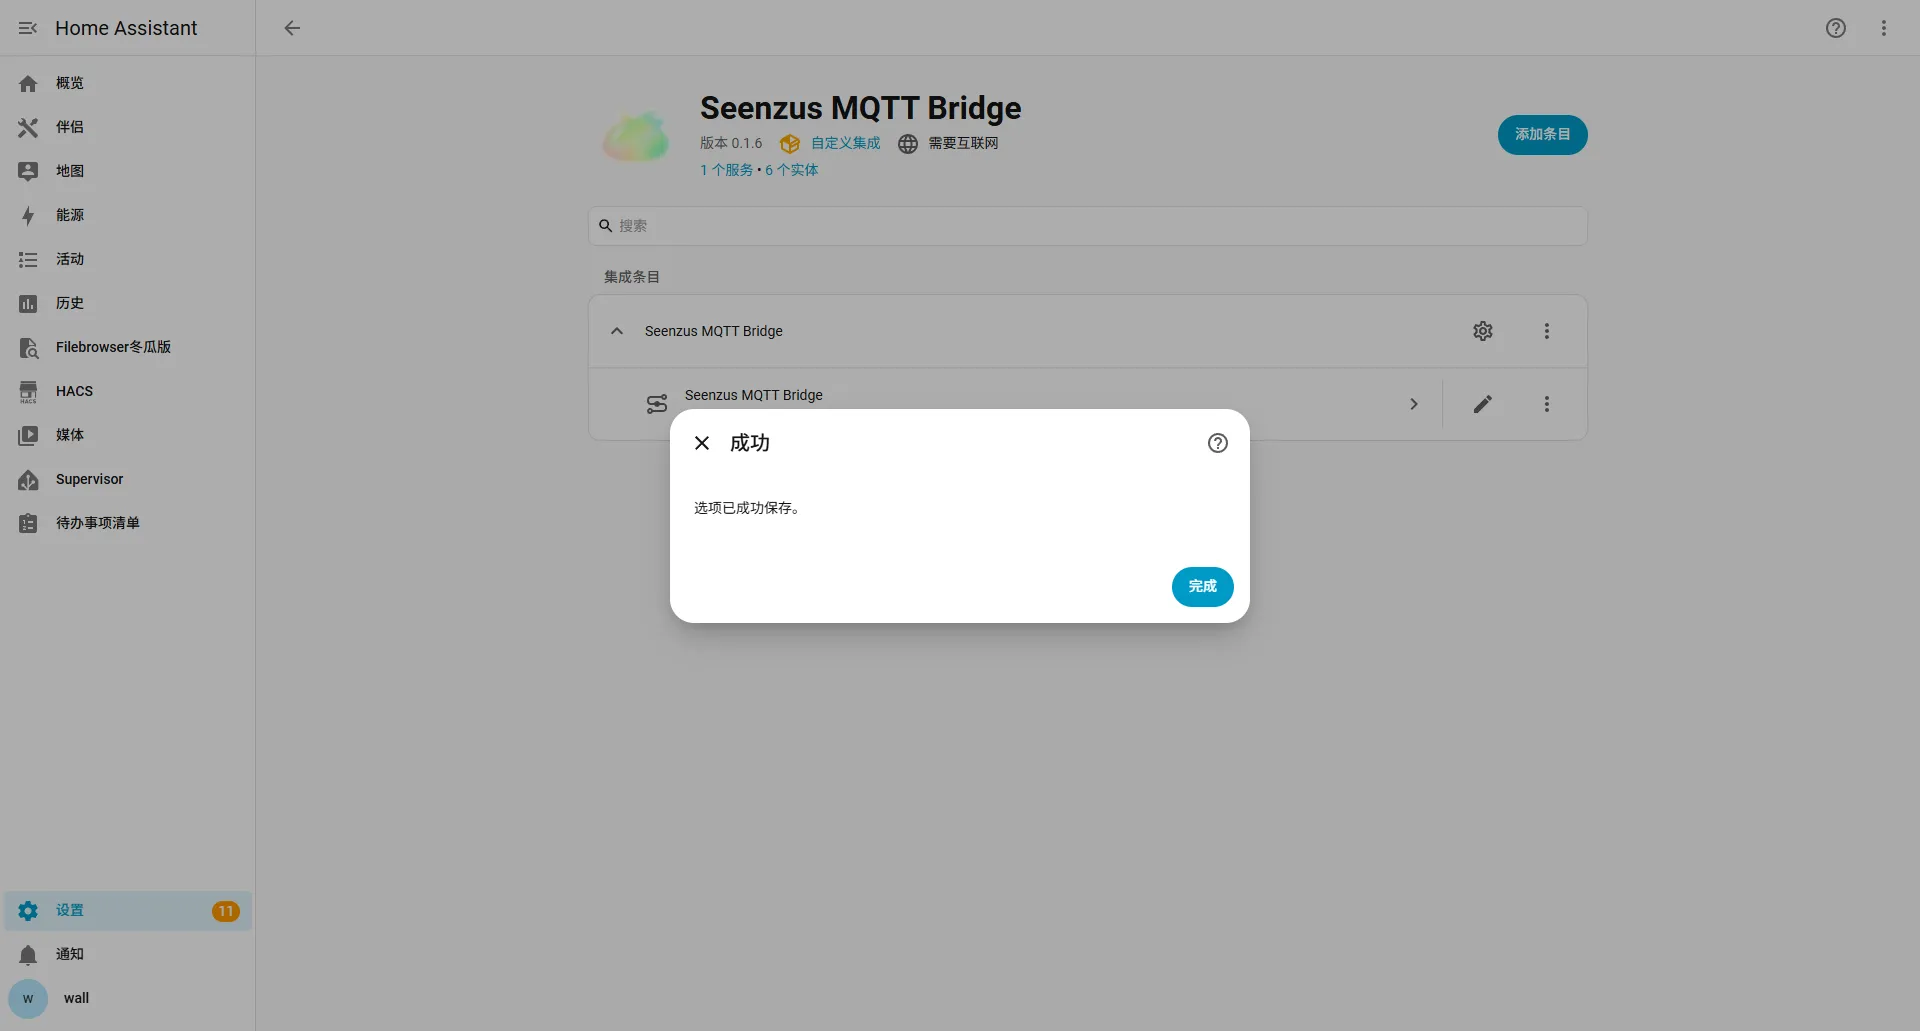
Return to seenzus and open the Home Assistant Source you just created. Setup is complete when it shows Connected and begins discovering devices.
For expired sessions or return-link problems, see Quick Pair troubleshooting.