

快速配对桥接
本页从 Bridge 已经下载并重启 Home Assistant 开始。完成后,对应的 Home Assistant 数据源会在 seenzus 中显示为「已连接」。
1. 从 seenzus 应用发起
Section titled “1. 从 seenzus 应用发起”回到 seenzus,打开「集成 → 接入数据源 → 配对接入」。这是推荐入口:应用会带你进入正确的 Home Assistant,不需要手动复制长链接。
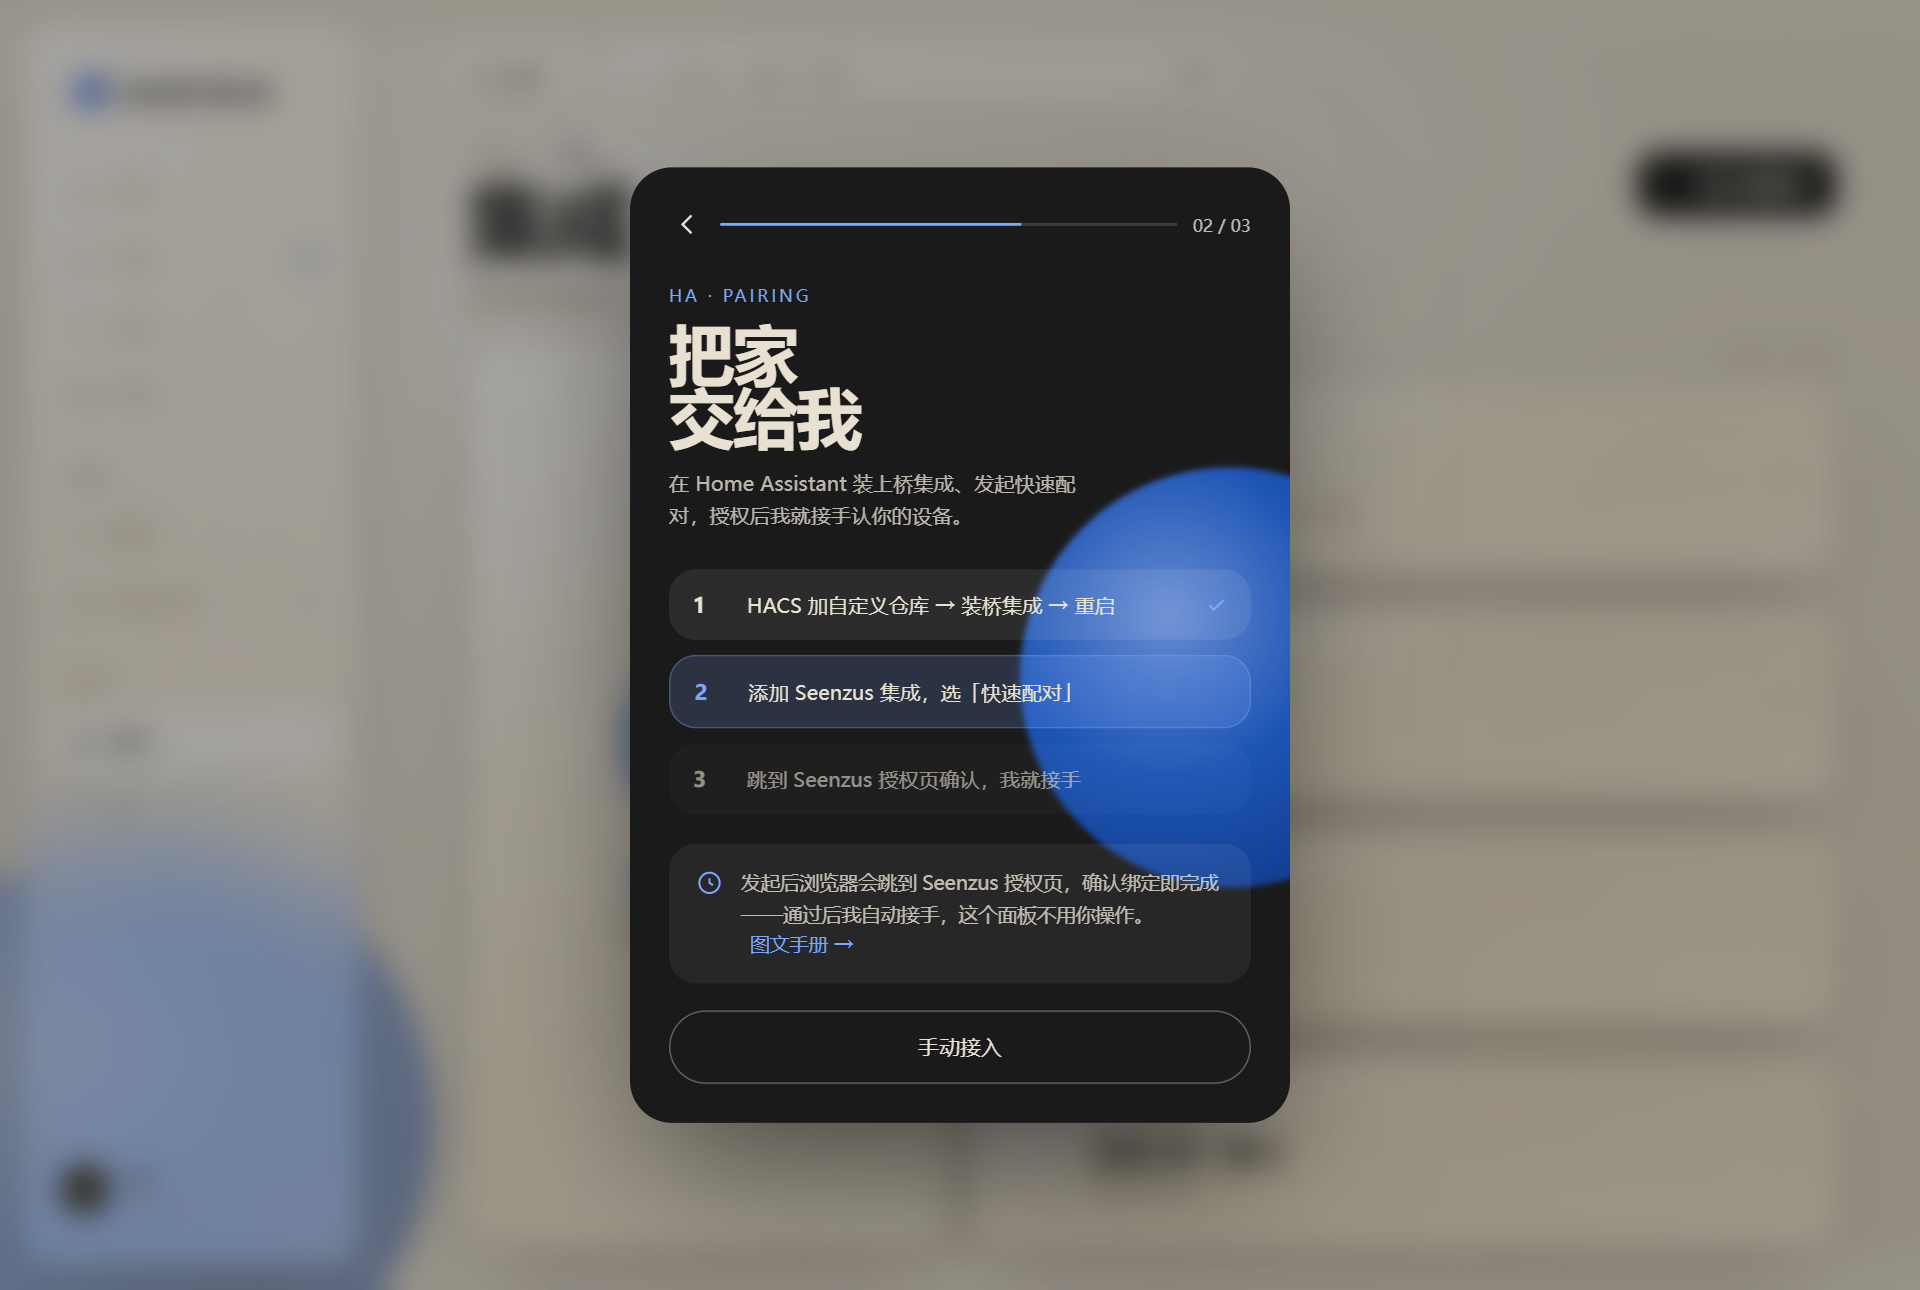
2. 在 Home Assistant 选择快速配对
Section titled “2. 在 Home Assistant 选择快速配对”Home Assistant 打开后,选择「快速配对(推荐)」并继续。如果浏览器要求登录,先登录这台 Home Assistant,再从 seenzus 重新发起一次。
这里没有需要填写的 MQTT Broker、端口、账号或密码。
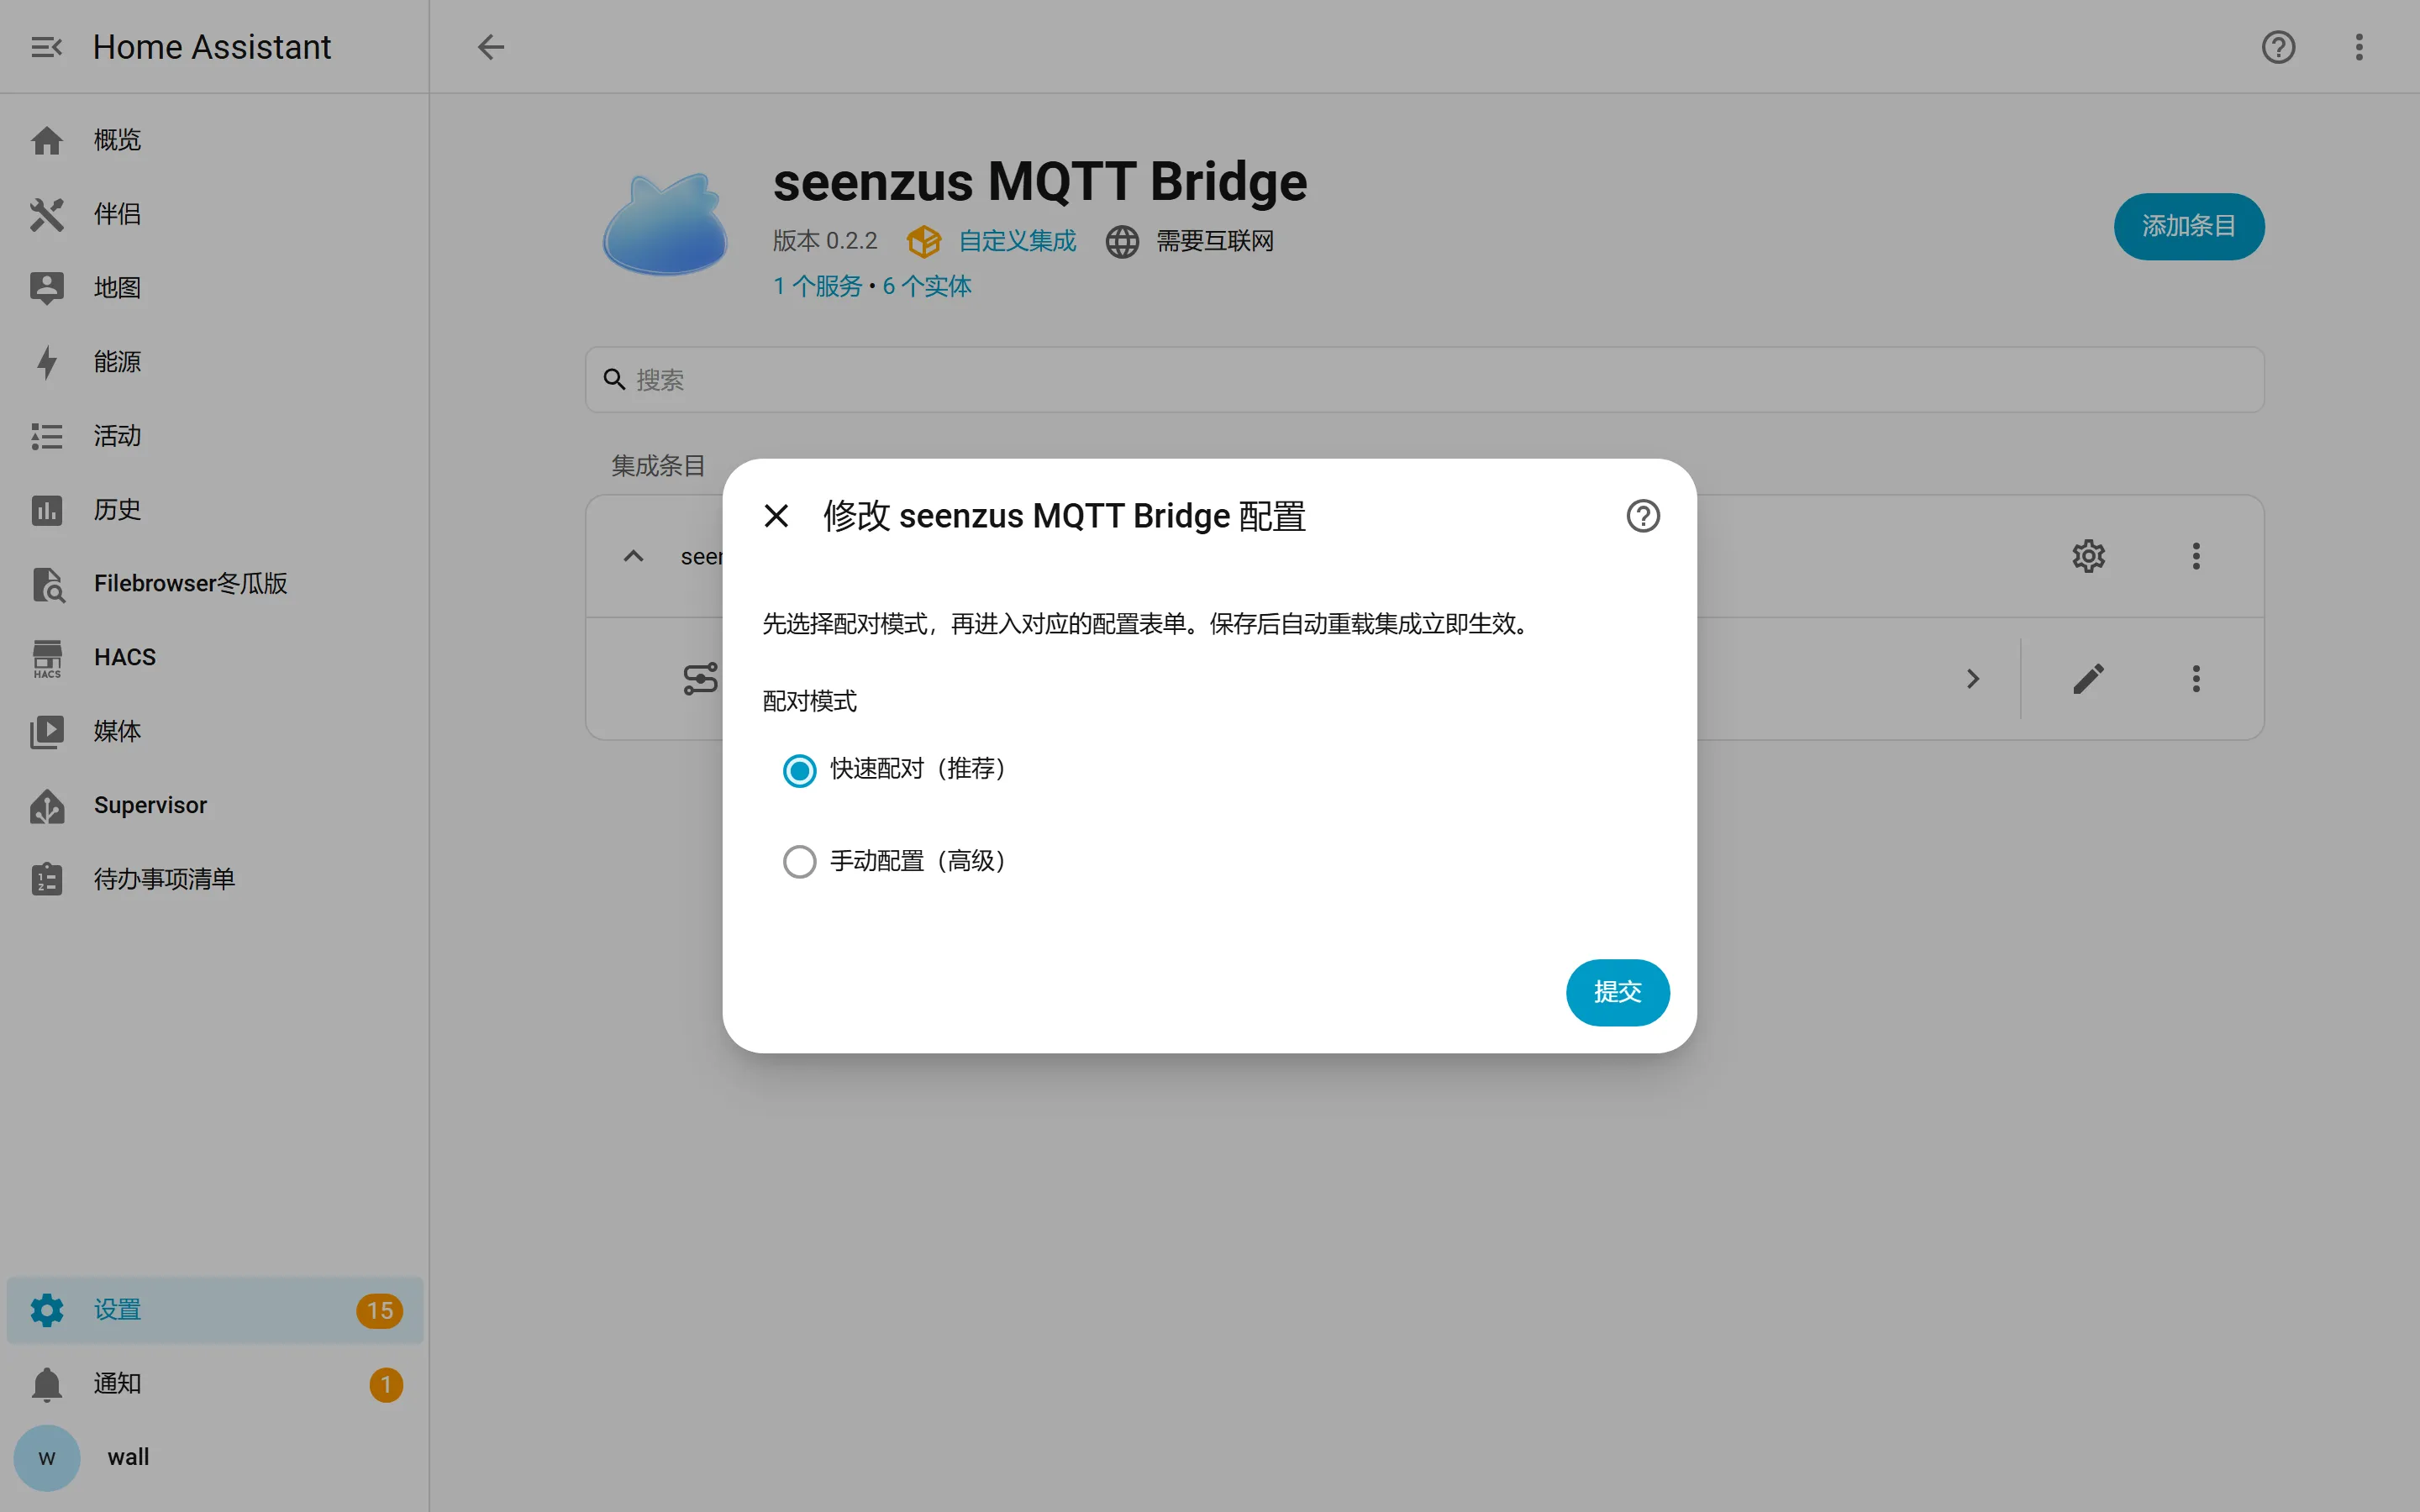
3. 登录 seenzus 并确认授权
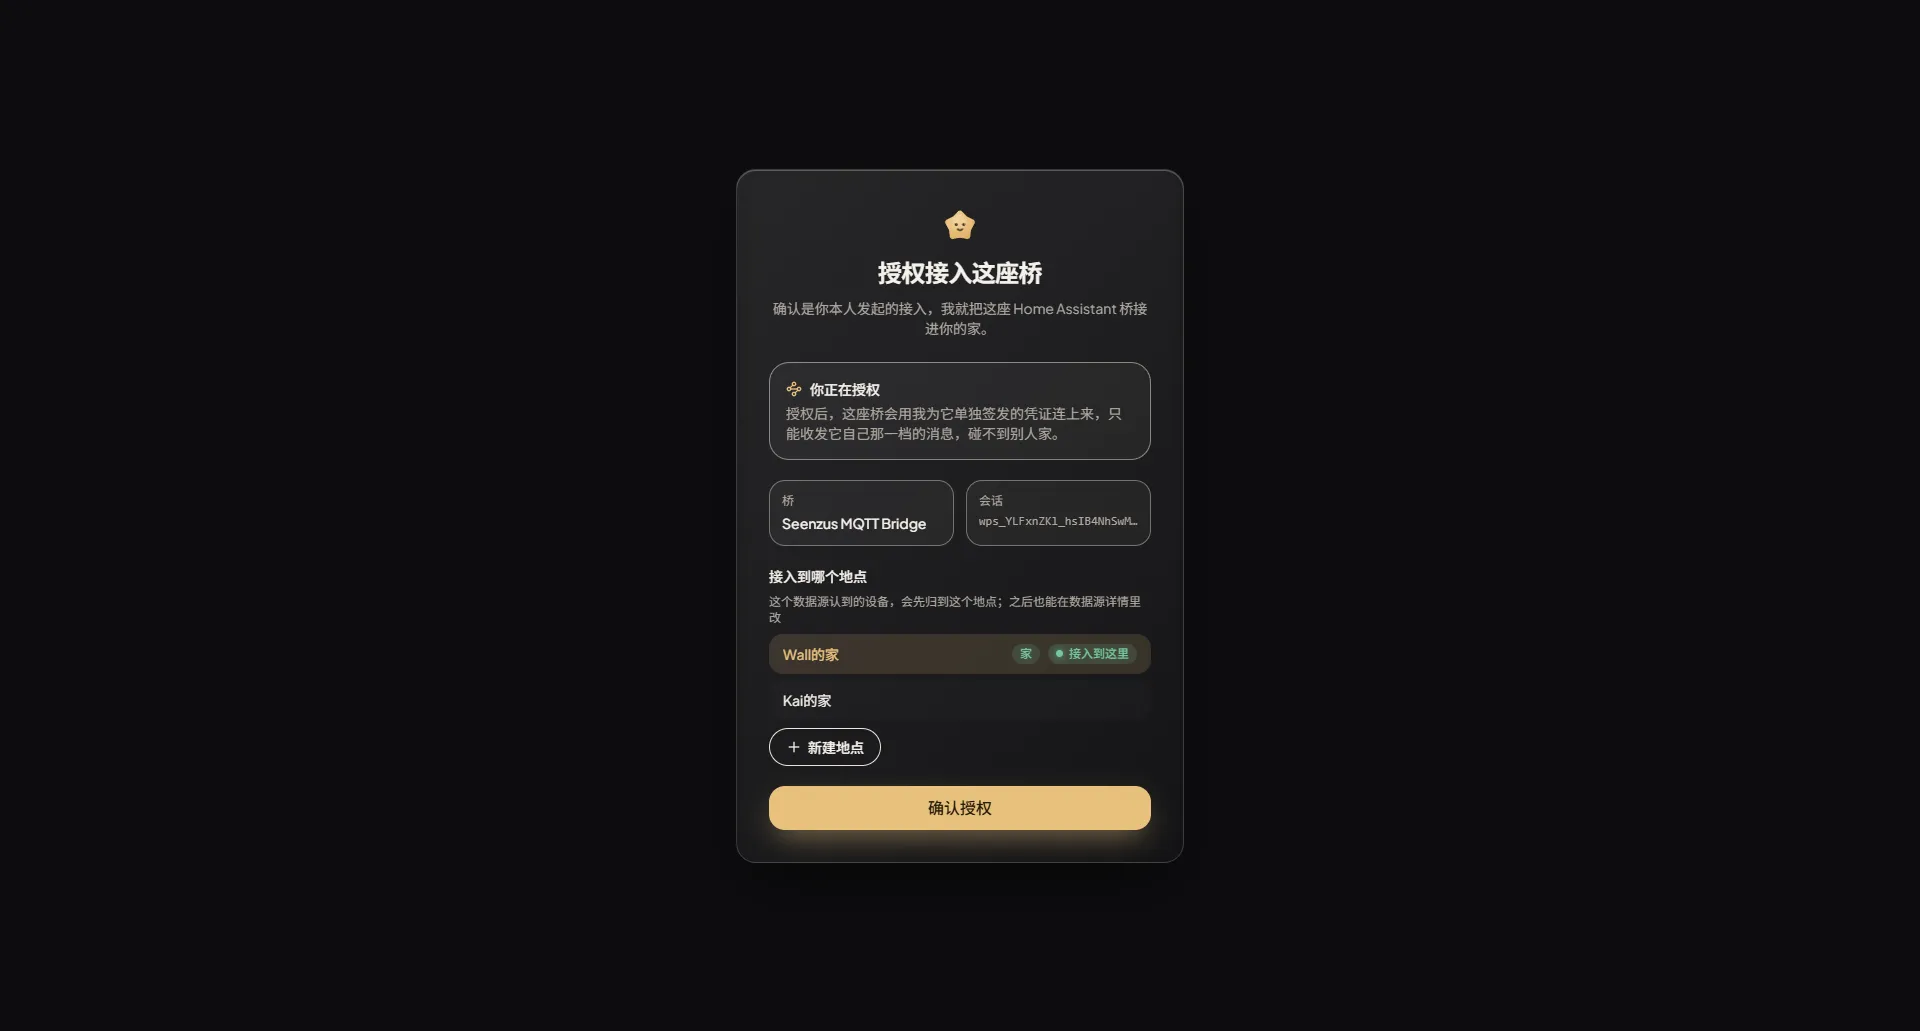
Section titled “3. 登录 seenzus 并确认授权”Home Assistant 会打开 seenzus 授权页。登录账号,确认这是刚才发起的 Home Assistant Bridge,然后授权。
配对会话只有几分钟有效;超时后回到 seenzus 重新发起即可。
4. 回到对应数据源
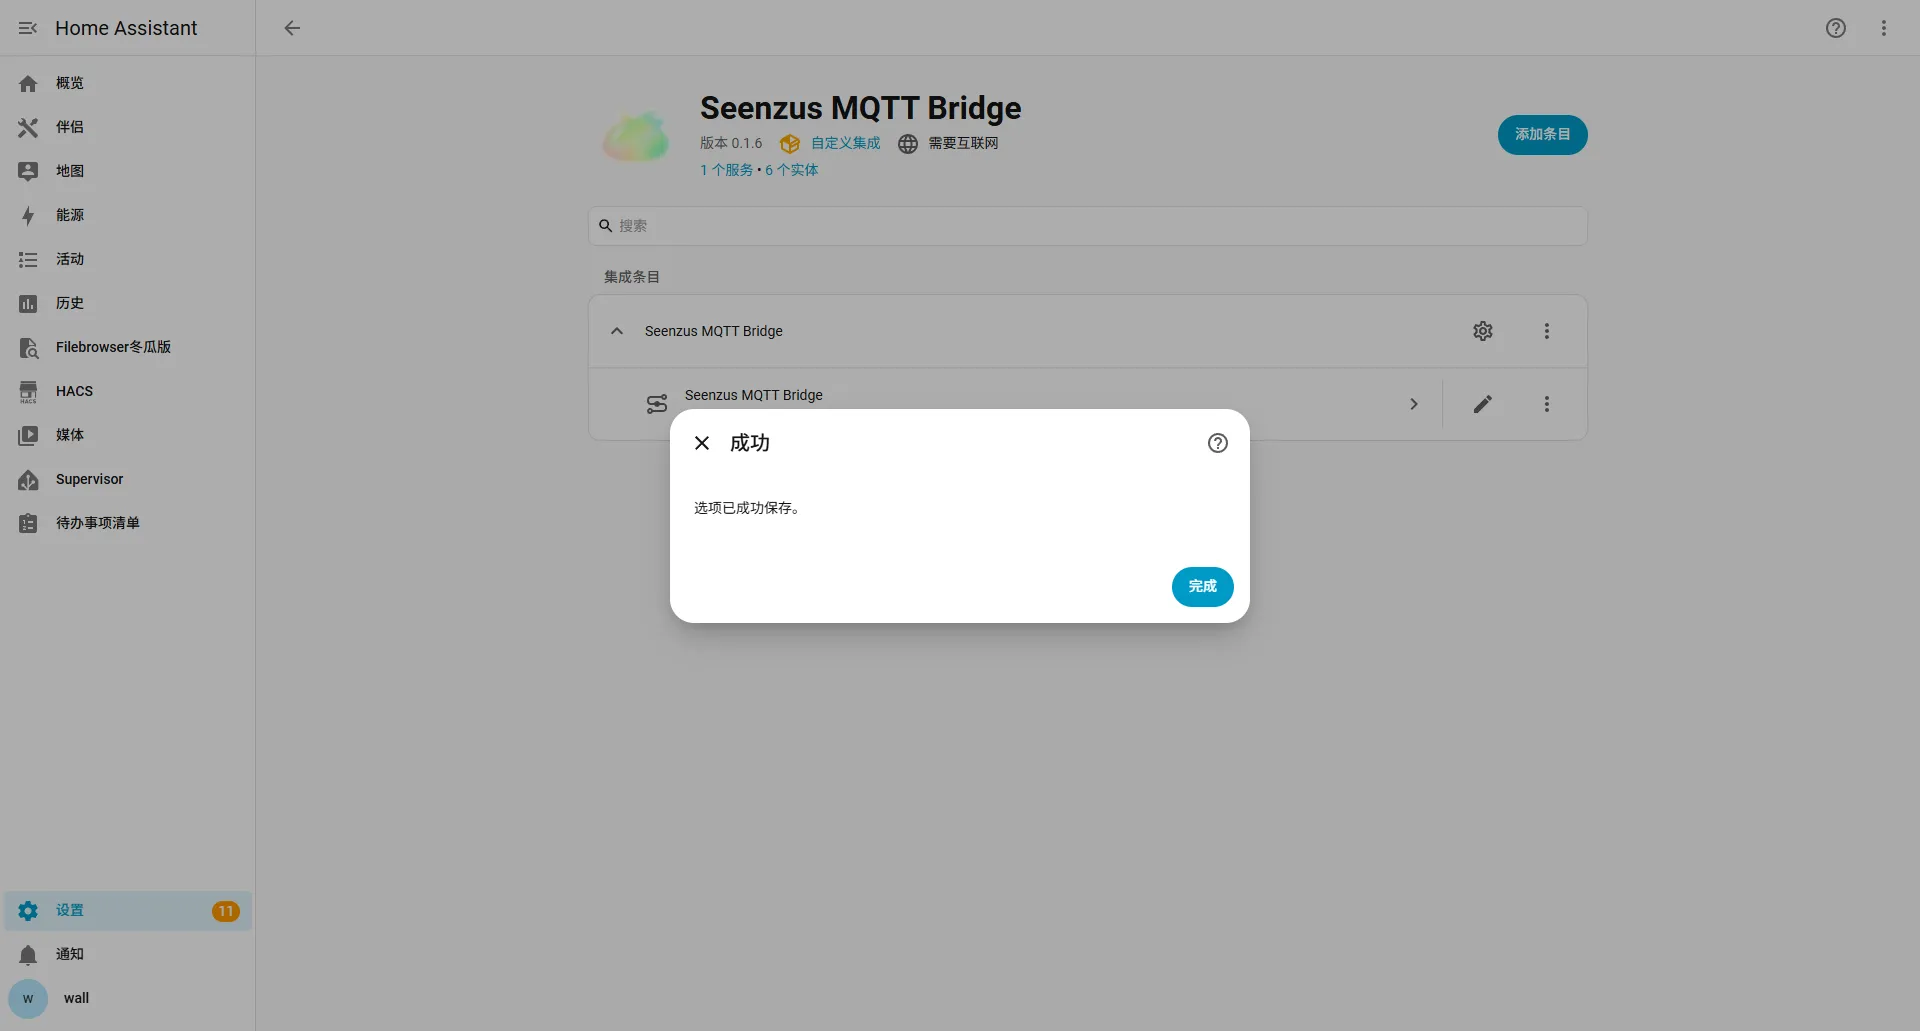
Section titled “4. 回到对应数据源”授权完成后会先返回 Home Assistant 并创建集成。此时还没有结束,也不需要再次重启。点击成功页或通知中心里的「返回 seenzus 应用」,再打开刚才创建的数据源。
以下两项同时出现,就表示接入完成:
- 数据源状态为「已连接」;
- 页面开始显示已发现的设备或同步进度。
应用入口打不开
Section titled “应用入口打不开”先登录:
http://homeassistant.local:8123再打开下面的本地备用地址:
http://homeassistant.local:8123/_my_redirect/config_flow_start?domain=seenzus_bridge它会进入同一个 Bridge 配置流程。仍然选择「快速配对(推荐)」,完成后再回 seenzus 查看对应数据源。默认地址打不开时,再查找 HA IP并替换 homeassistant.local。
提示“此集成不支持通过用户界面进行配置”
Section titled “提示“此集成不支持通过用户界面进行配置””Bridge 没有在当前 Home Assistant 中正确加载。回到安装 Bridge,确认下载已经完成并且执行的是“重启 Home Assistant”,然后重新发起配对。
授权成功,但没有回到 Home Assistant
Section titled “授权成功,但没有回到 Home Assistant”重新打开并登录 Home Assistant:
http://homeassistant.local:8123然后从 seenzus 再次发起配对。默认地址打不开时才换用 HA IP;不要使用无法返回本机 HA 的公网地址。
数据源已连接,但没有设备
Section titled “数据源已连接,但没有设备”Bridge 只会同步 Home Assistant 已经拥有的设备。先确认设备能在 Home Assistant 中显示真实状态,再按数据同步排查检查。
我需要手动填写 MQTT Broker
Section titled “我需要手动填写 MQTT Broker”快速配对不需要 MQTT 参数。只有自建 Broker 或调试时才使用手动配置。