用 HACS 安装 seenzus MQTT Bridge 集成
本页提供一键安装失败后的两种备用方式。
方式一:在 HACS 手动添加
Section titled “方式一:在 HACS 手动添加”1. 添加仓库
Section titled “1. 添加仓库”打开「HACS → 右上角 ⋮ → Custom repositories」,填写以下地址,类别选择 Integration:
https://github.com/walllbf/seenzus-mqtt-bridge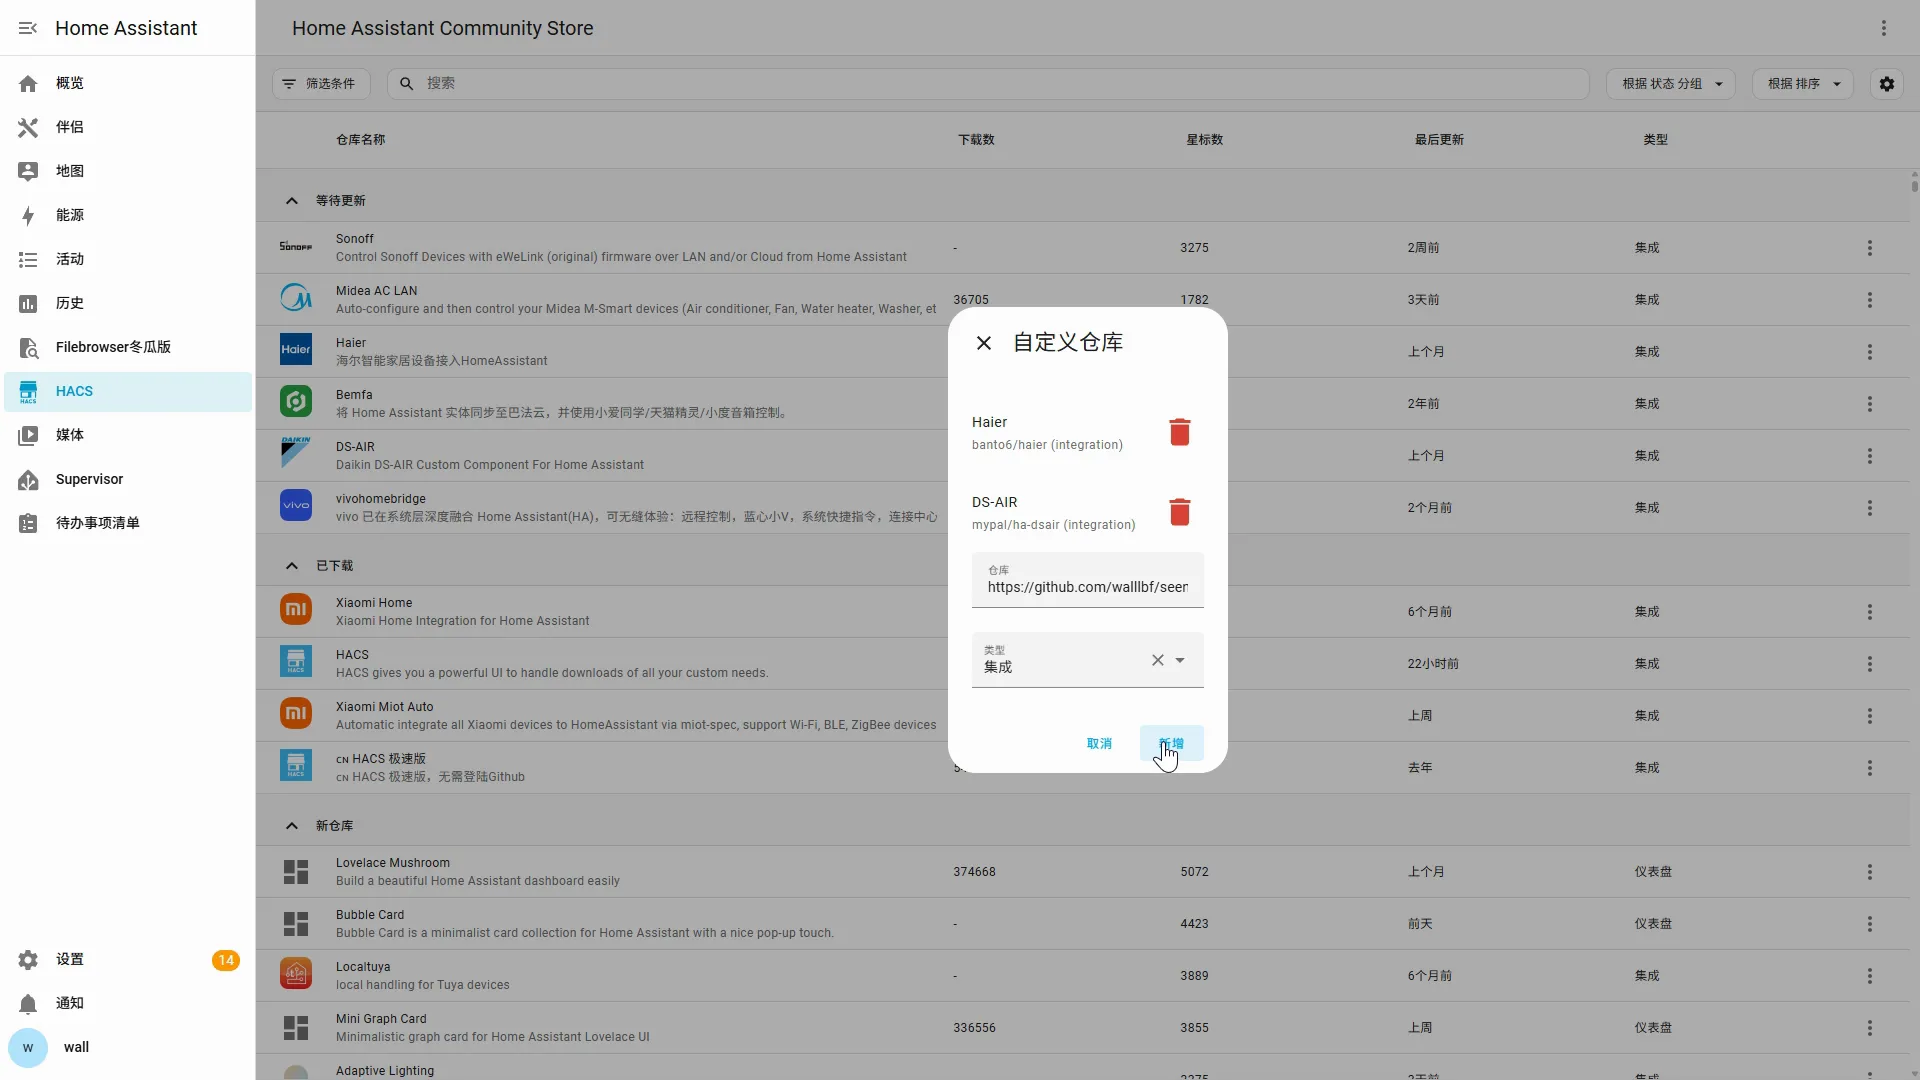
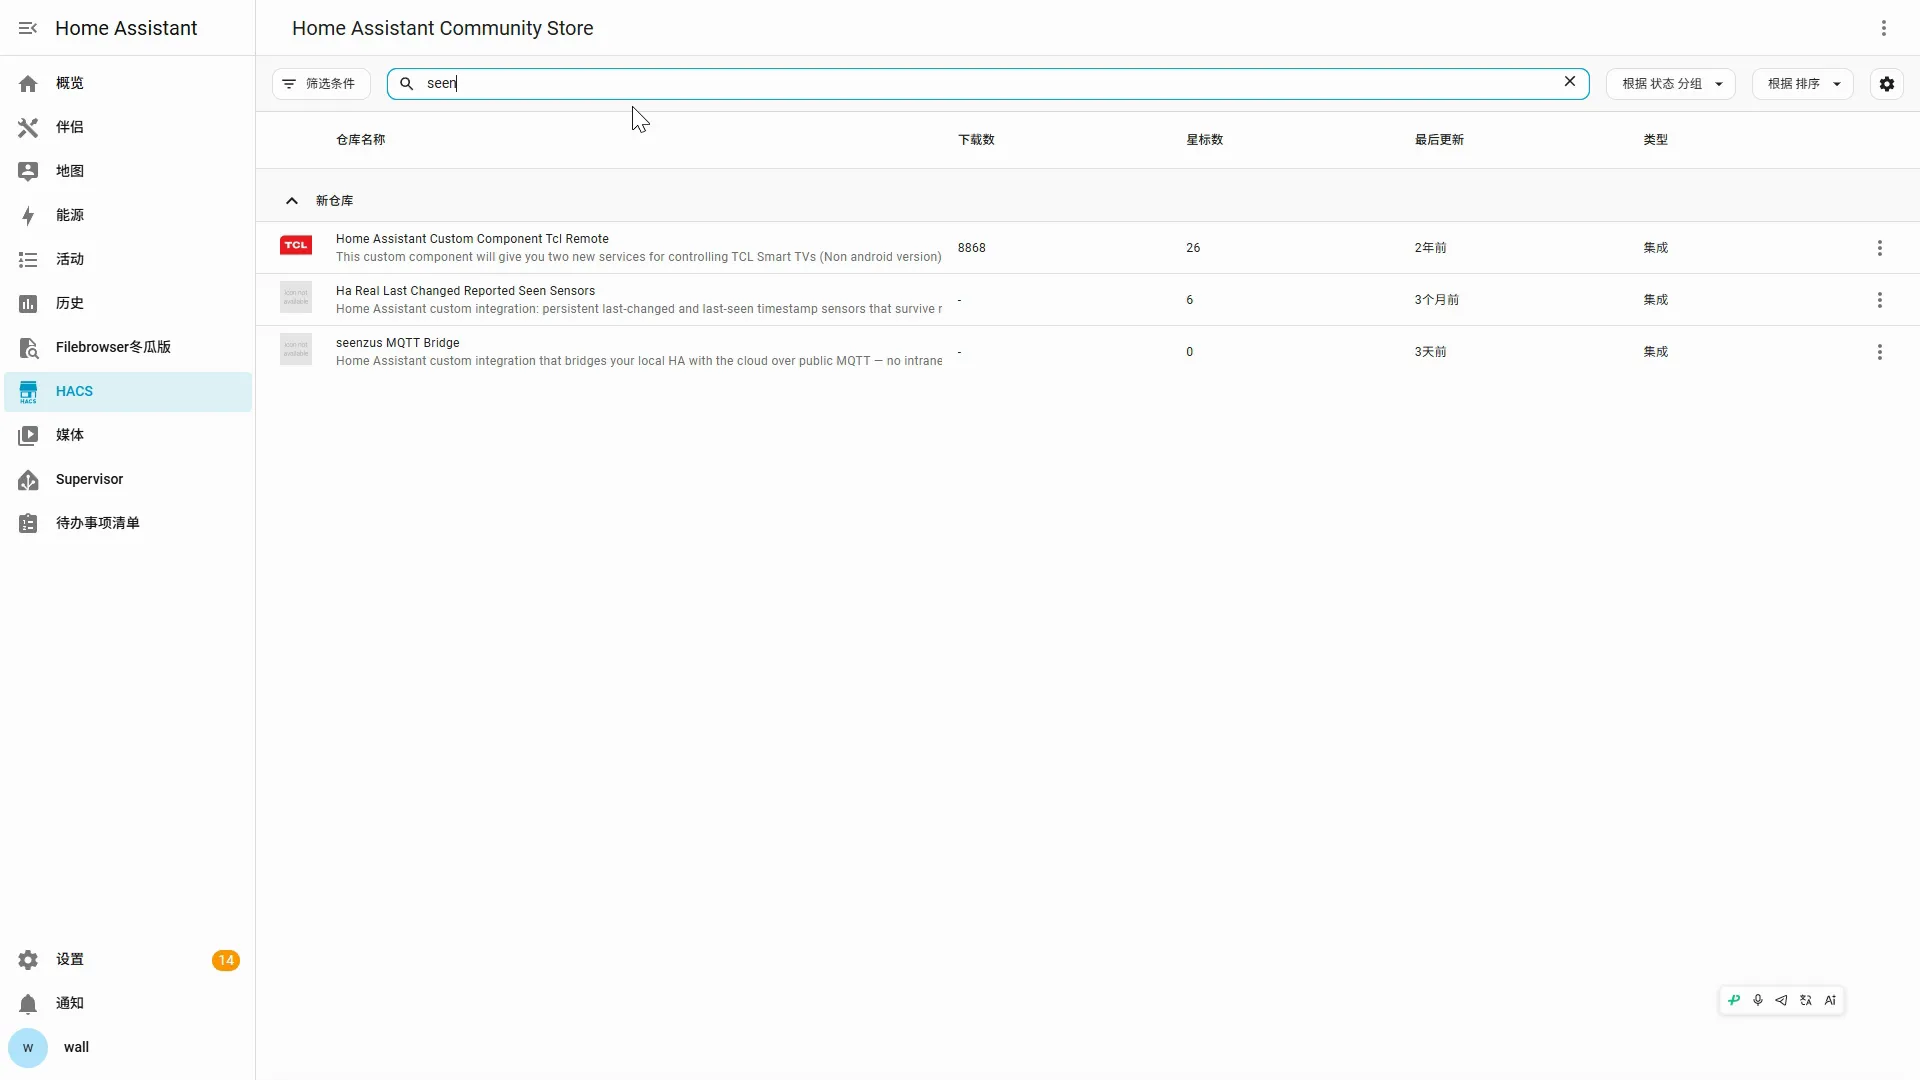
2. 找到 Bridge
Section titled “2. 找到 Bridge”搜索 seenzus MQTT Bridge。
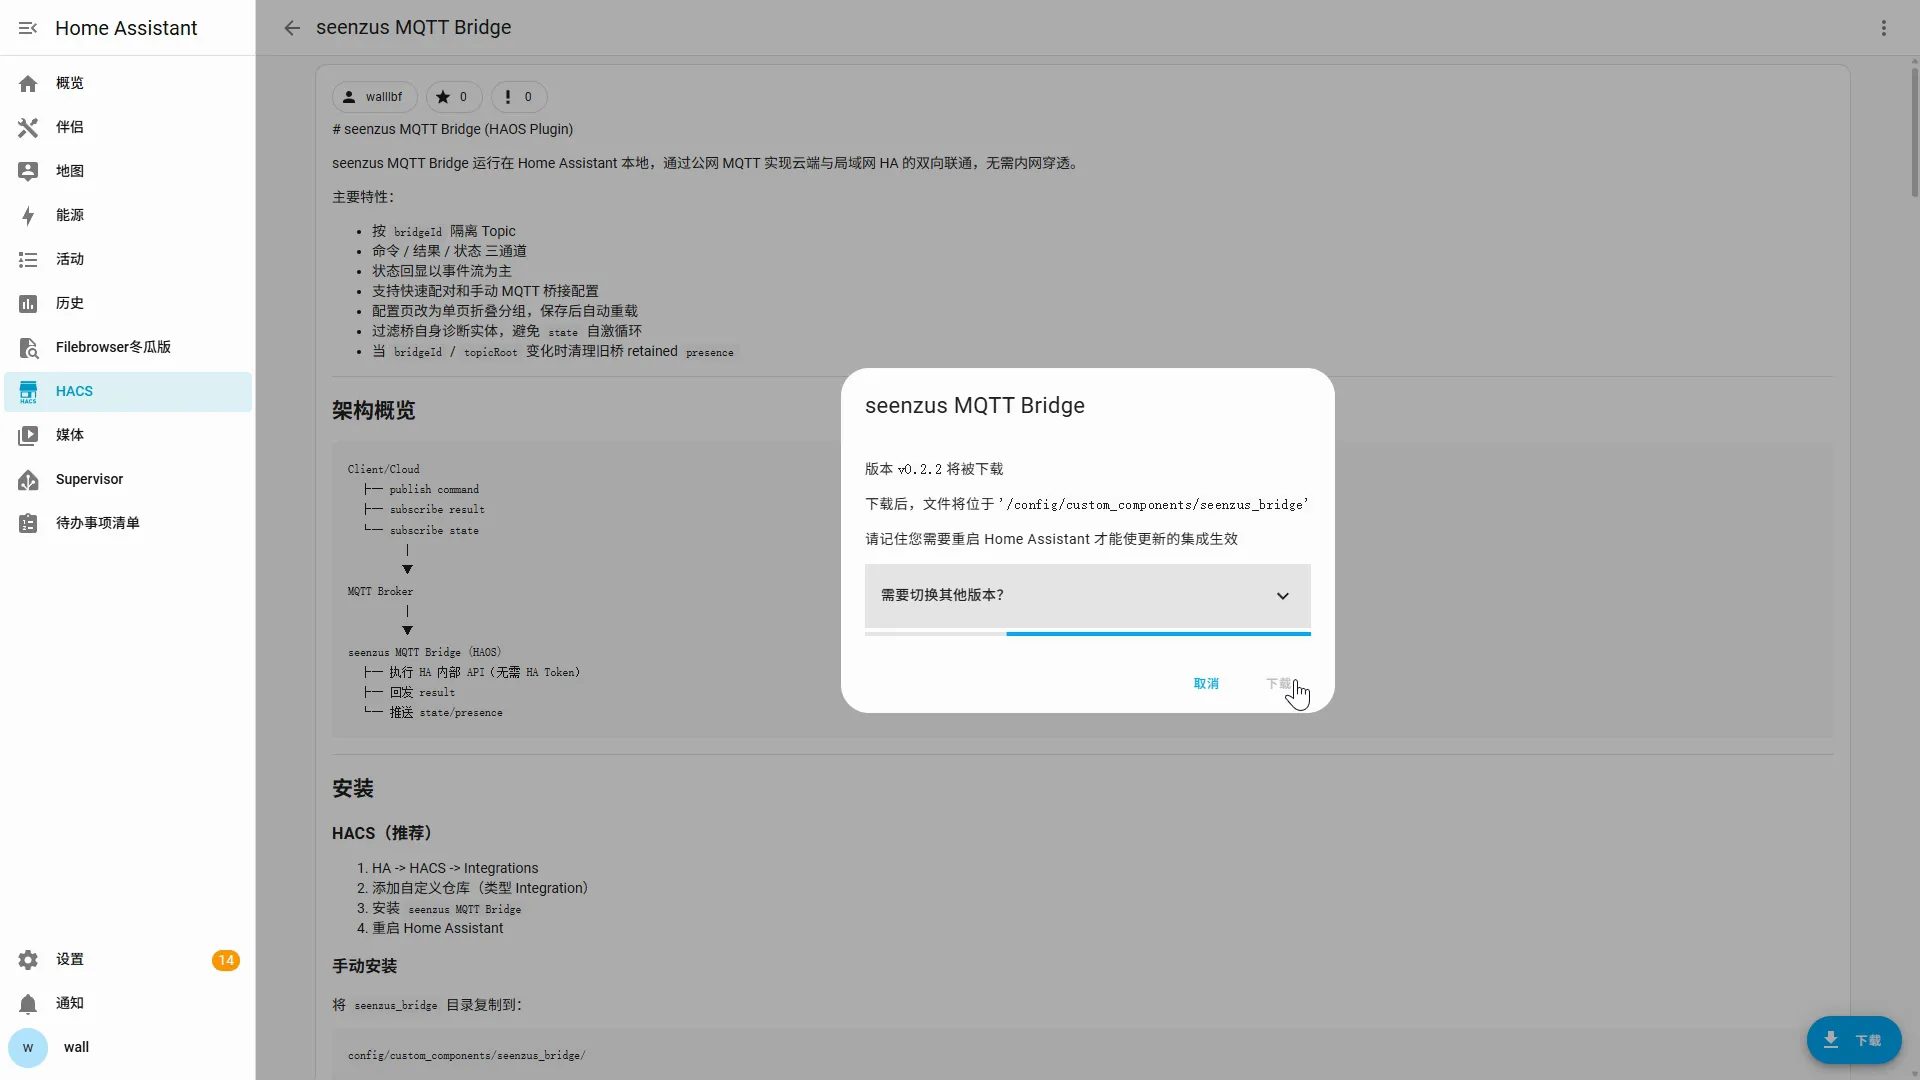
3. 下载 Bridge
Section titled “3. 下载 Bridge”打开 Bridge 后点击 Download,保持默认并确认。
方式二:用 Filebrowser 安装
Section titled “方式二:用 Filebrowser 安装”仅在方式一失败时使用。
1. 准备 Filebrowser
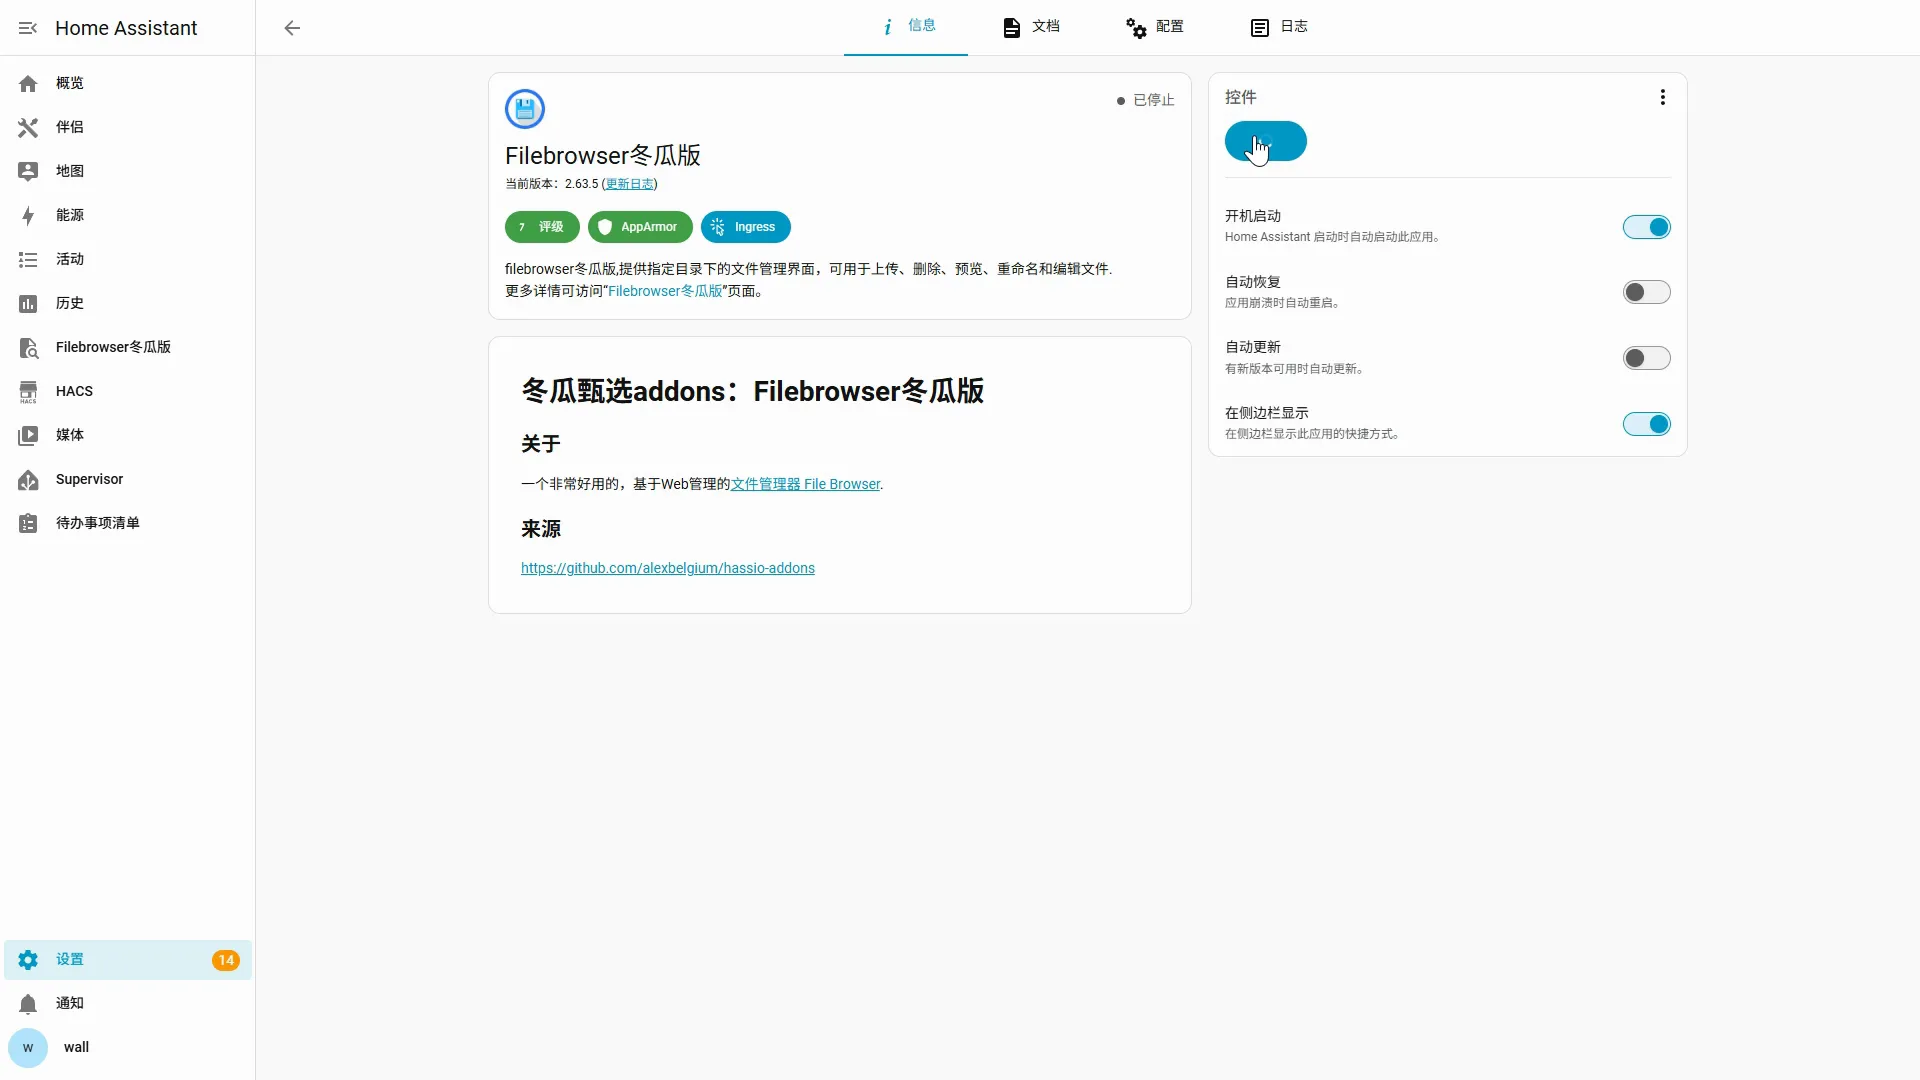
Section titled “1. 准备 Filebrowser”在「设置 → 应用 → 安装应用」中找到 Filebrowser。
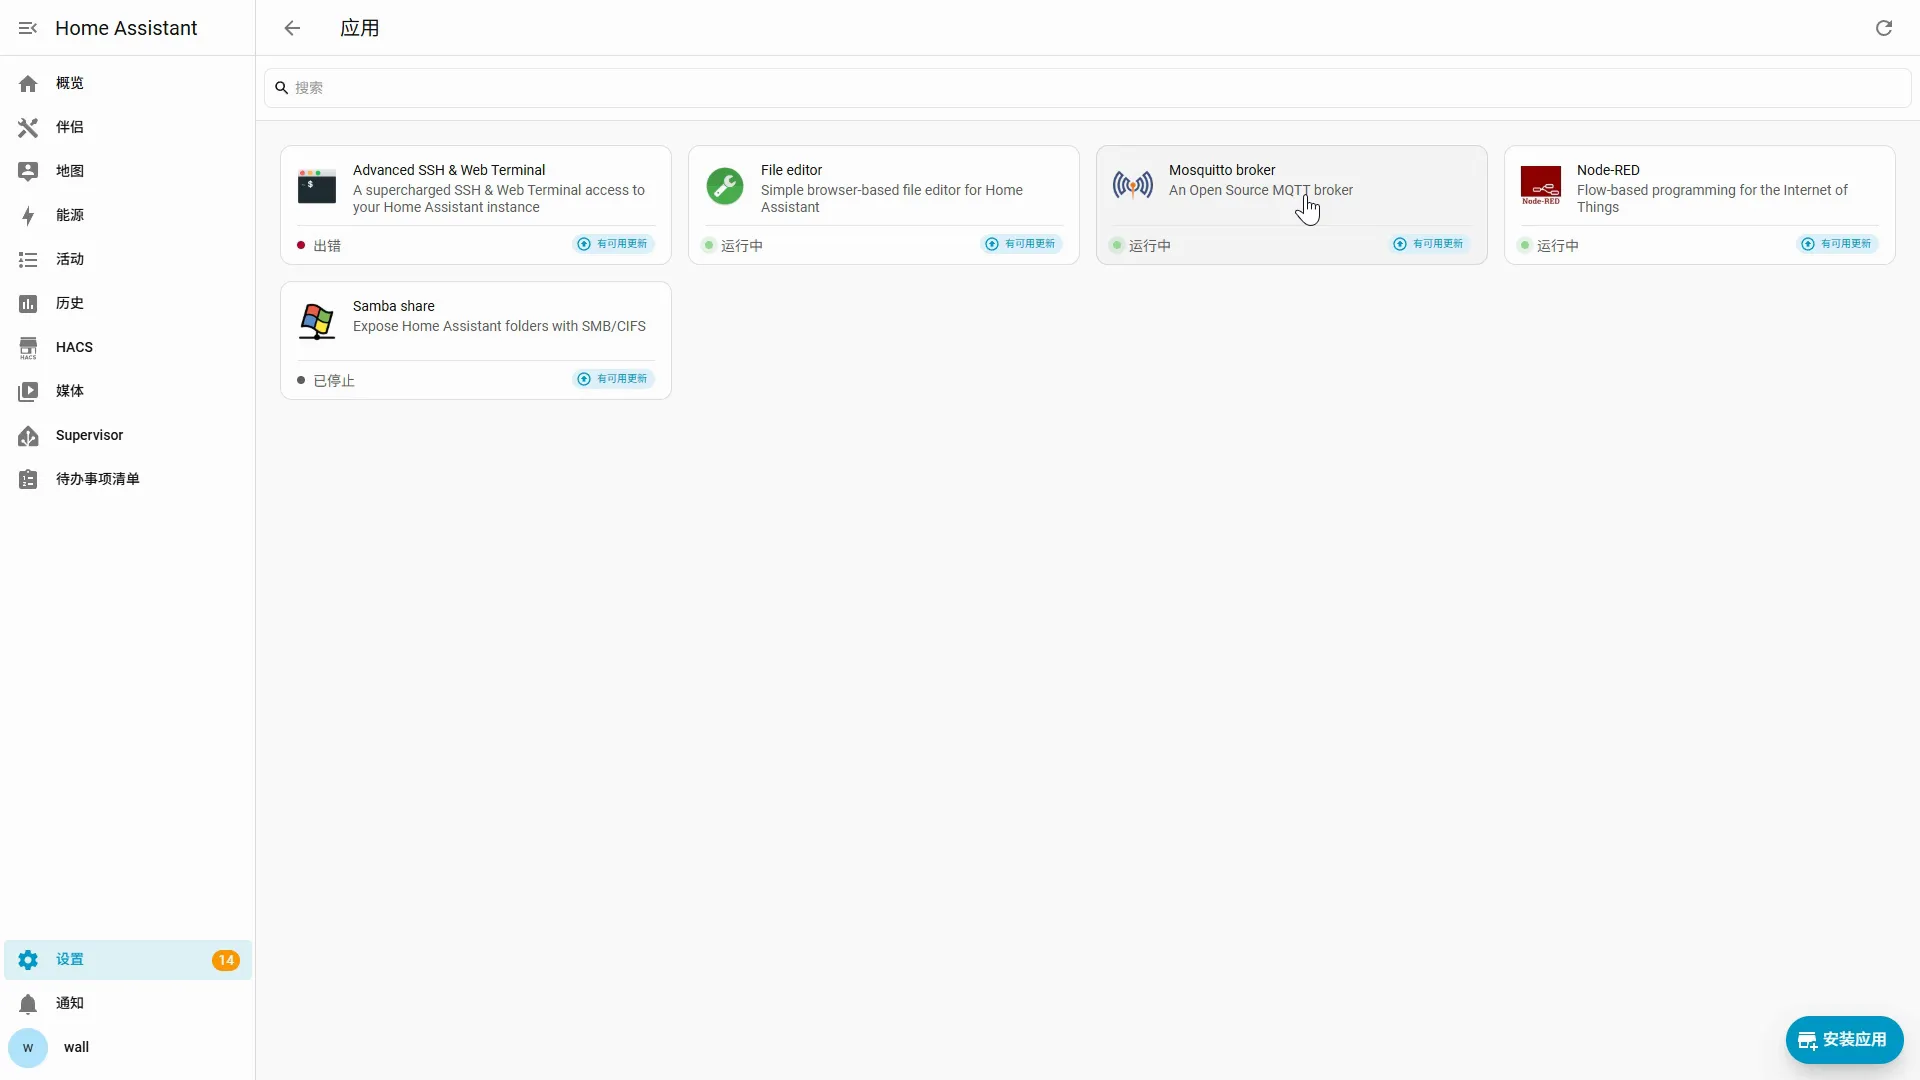
安装 Filebrowser。
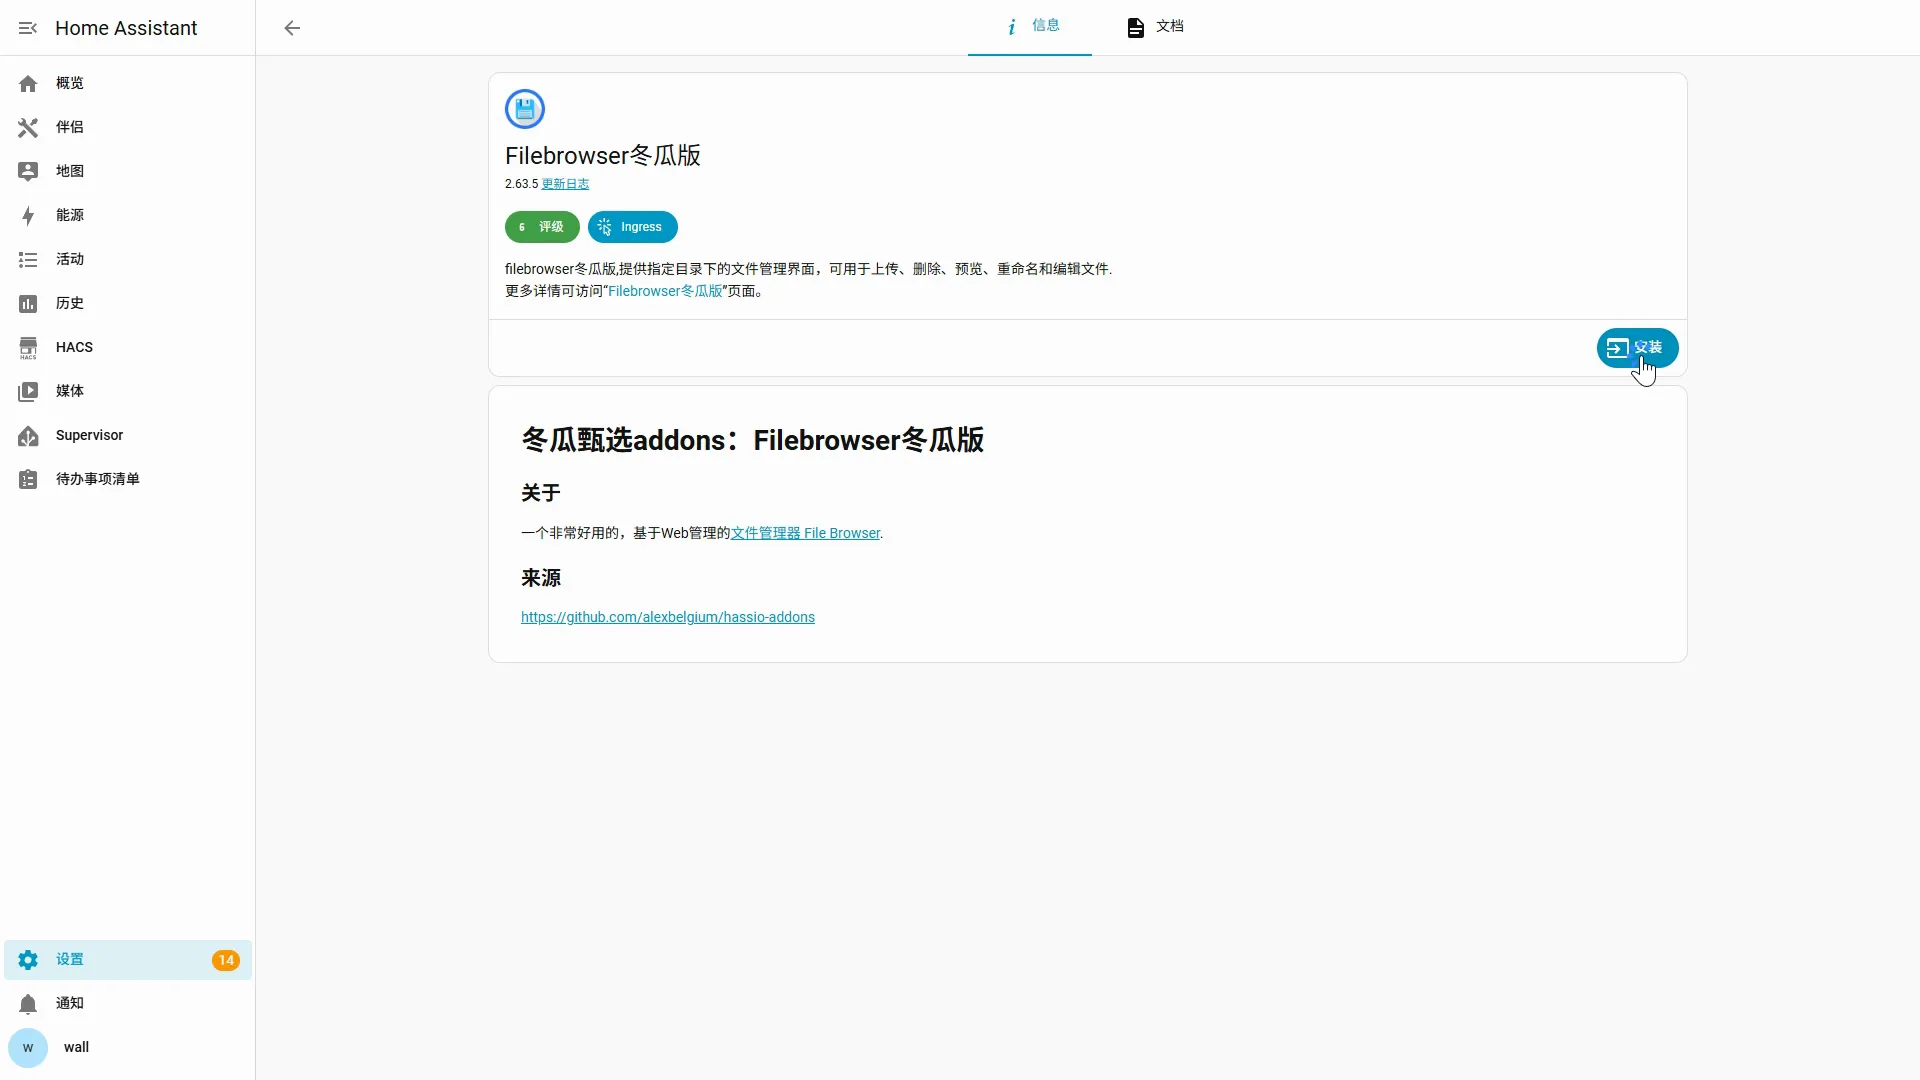
启用开机启动和侧边栏显示,然后启动。
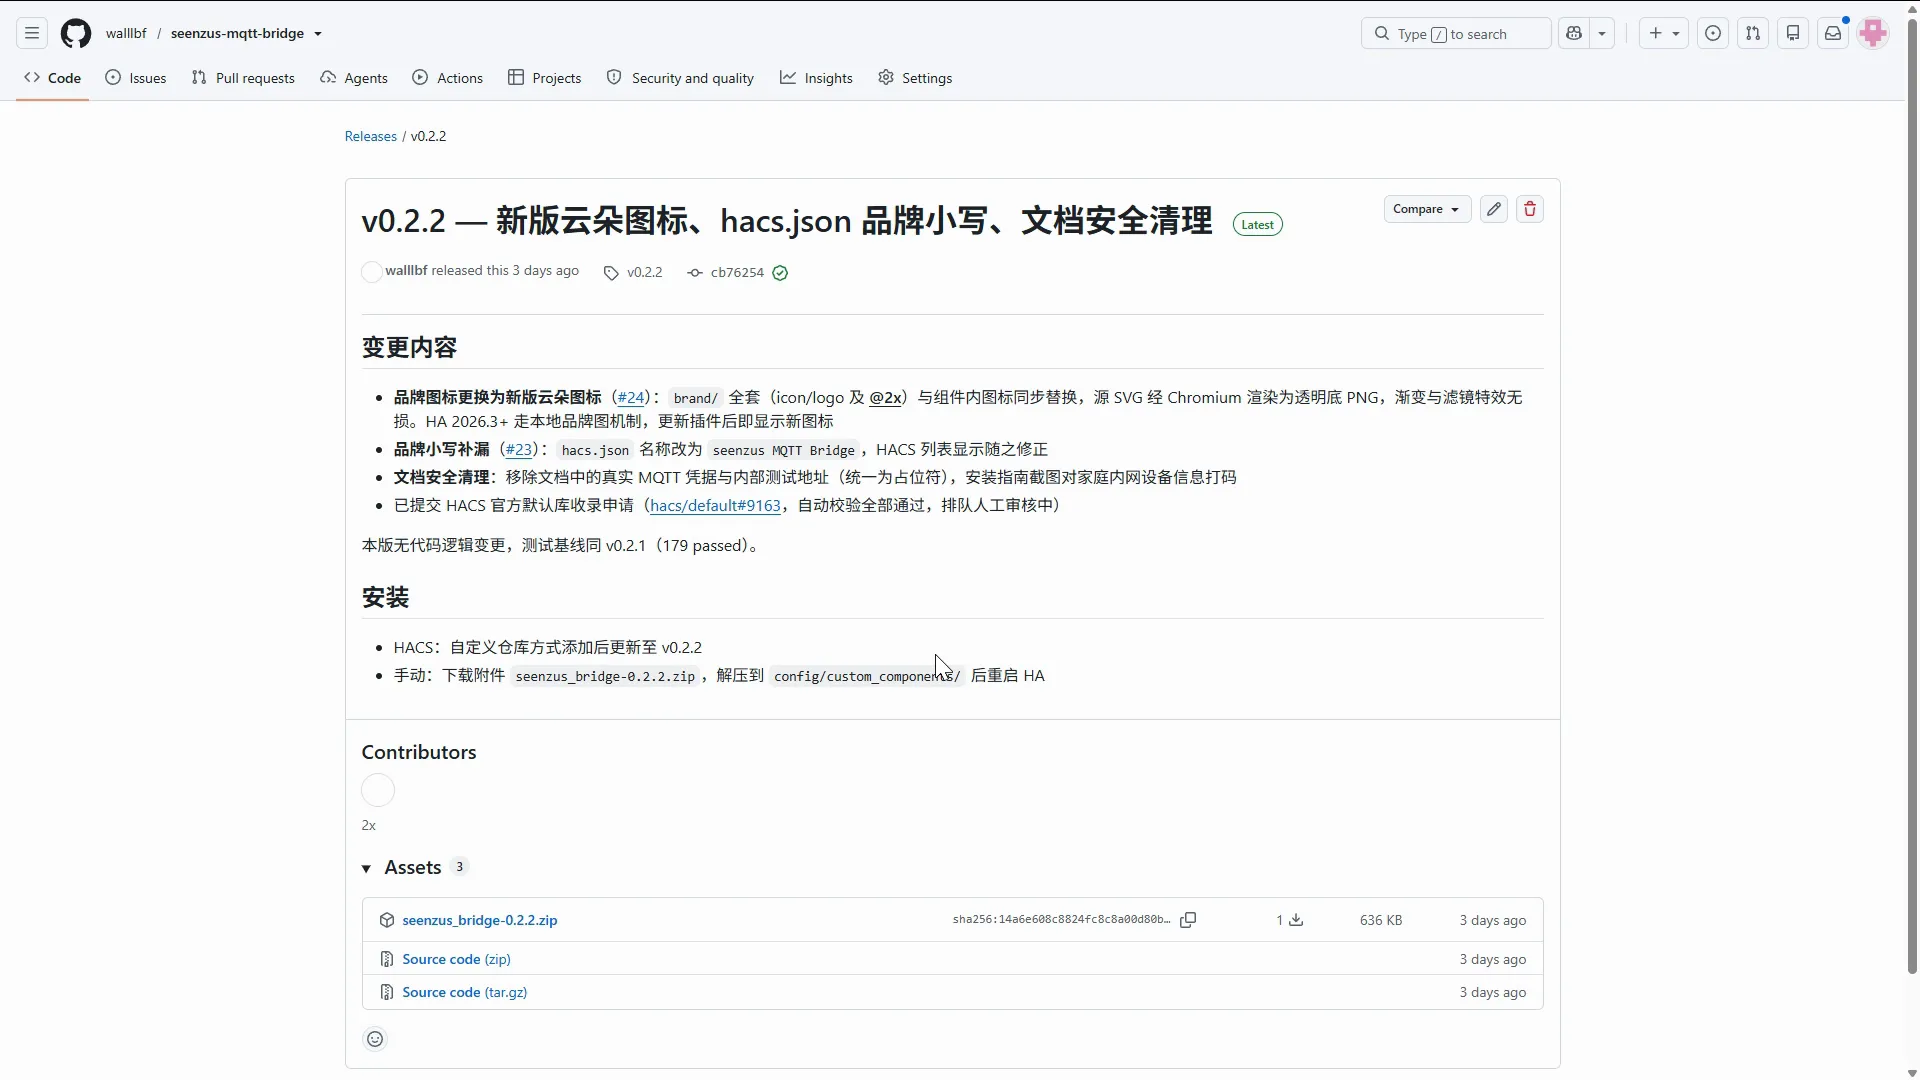
2. 下载 Bridge
Section titled “2. 下载 Bridge”从 GitHub Releases 下载 seenzus_bridge-<版本>.zip,不要下载 Source code。
3. 上传文件夹
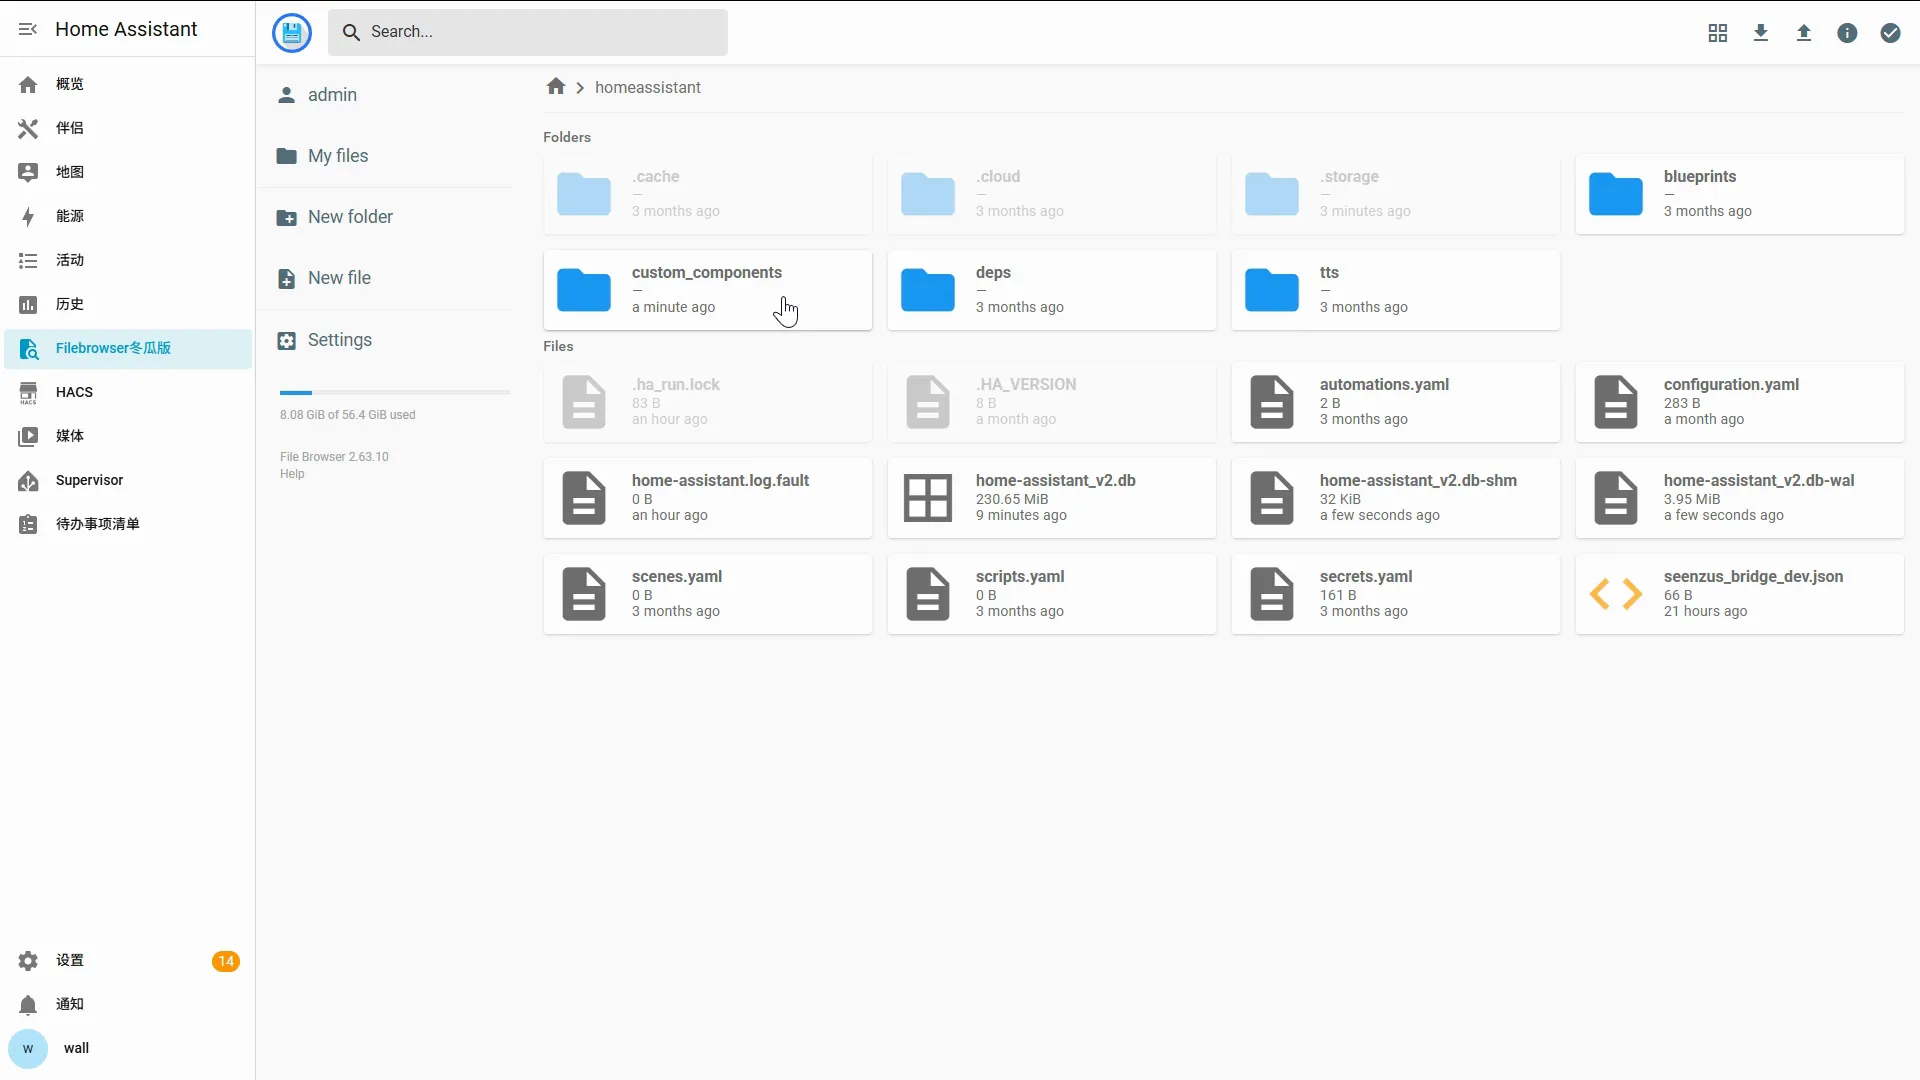
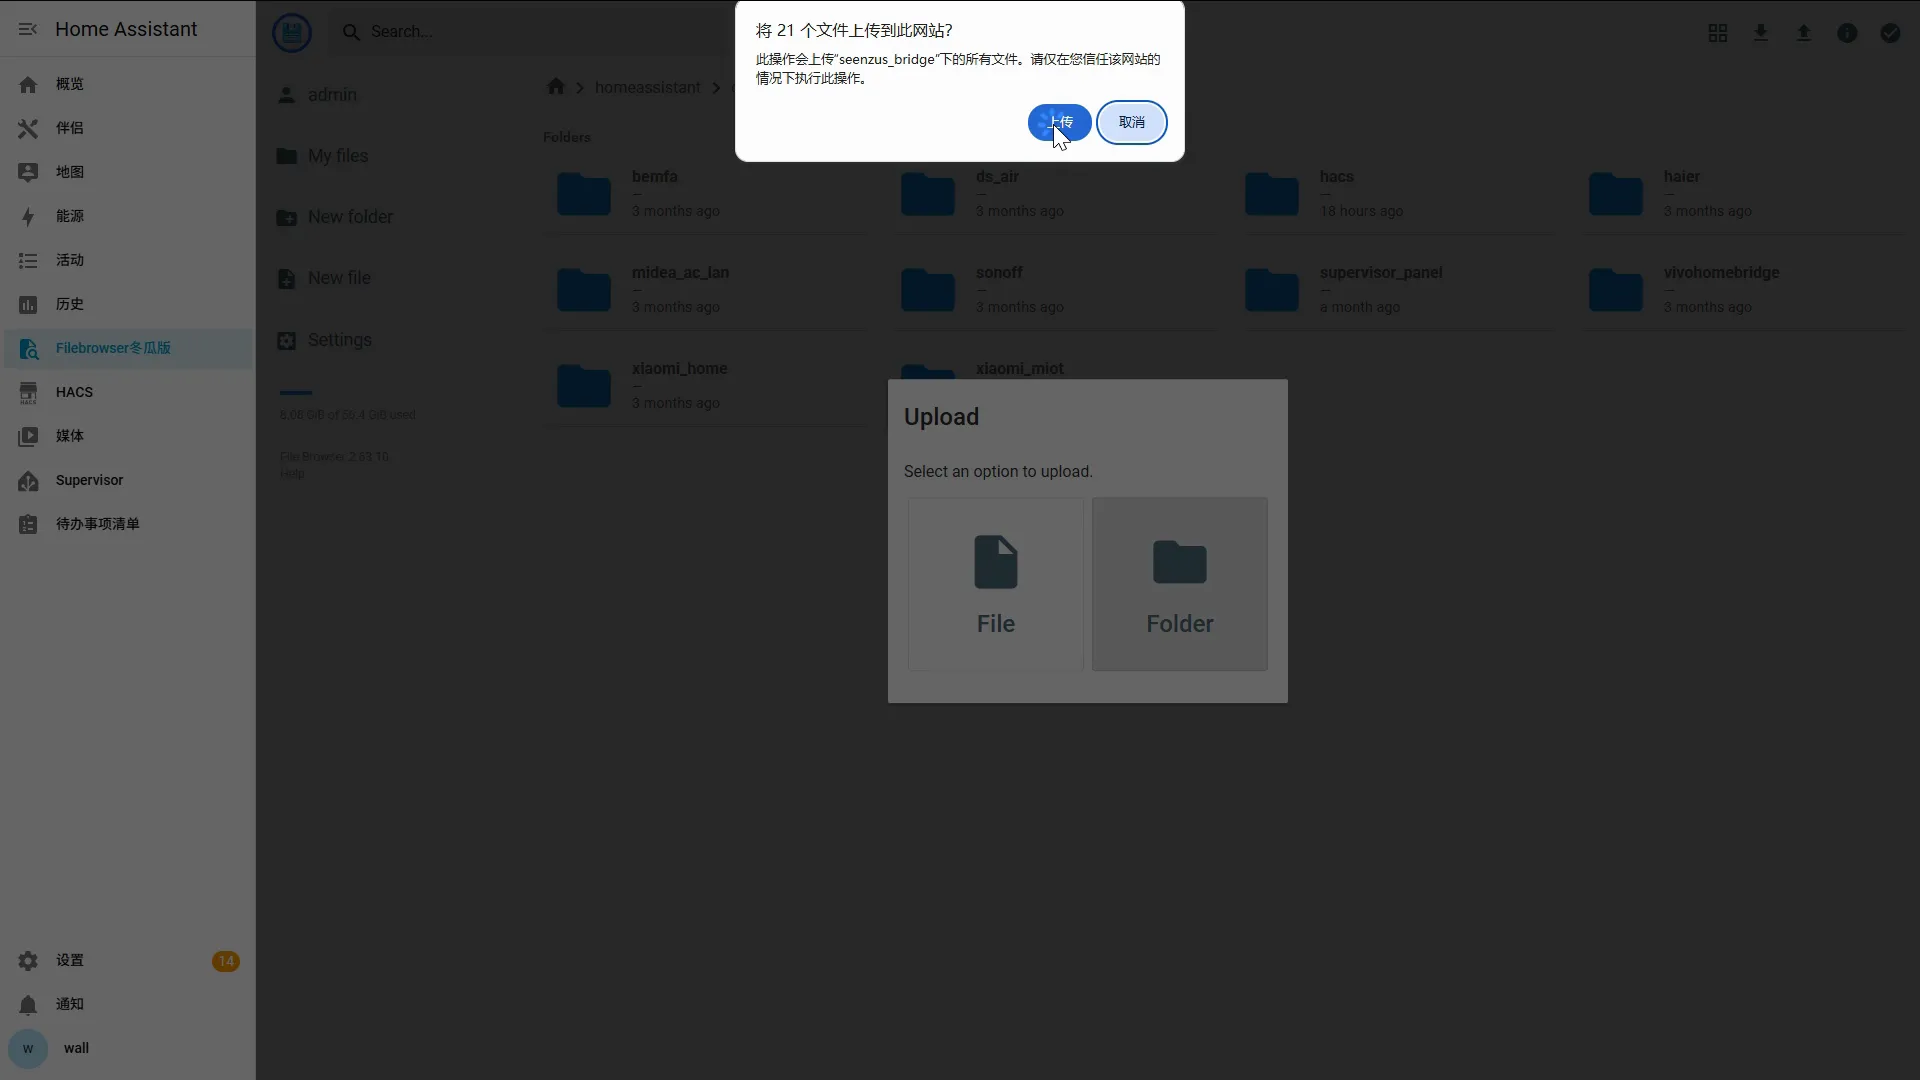
Section titled “3. 上传文件夹”解压后,把整个 seenzus_bridge 文件夹上传到 /config/custom_components/。
4. 检查目录
Section titled “4. 检查目录”最终目录必须是 /config/custom_components/seenzus_bridge/。
下载后:重启 Home Assistant
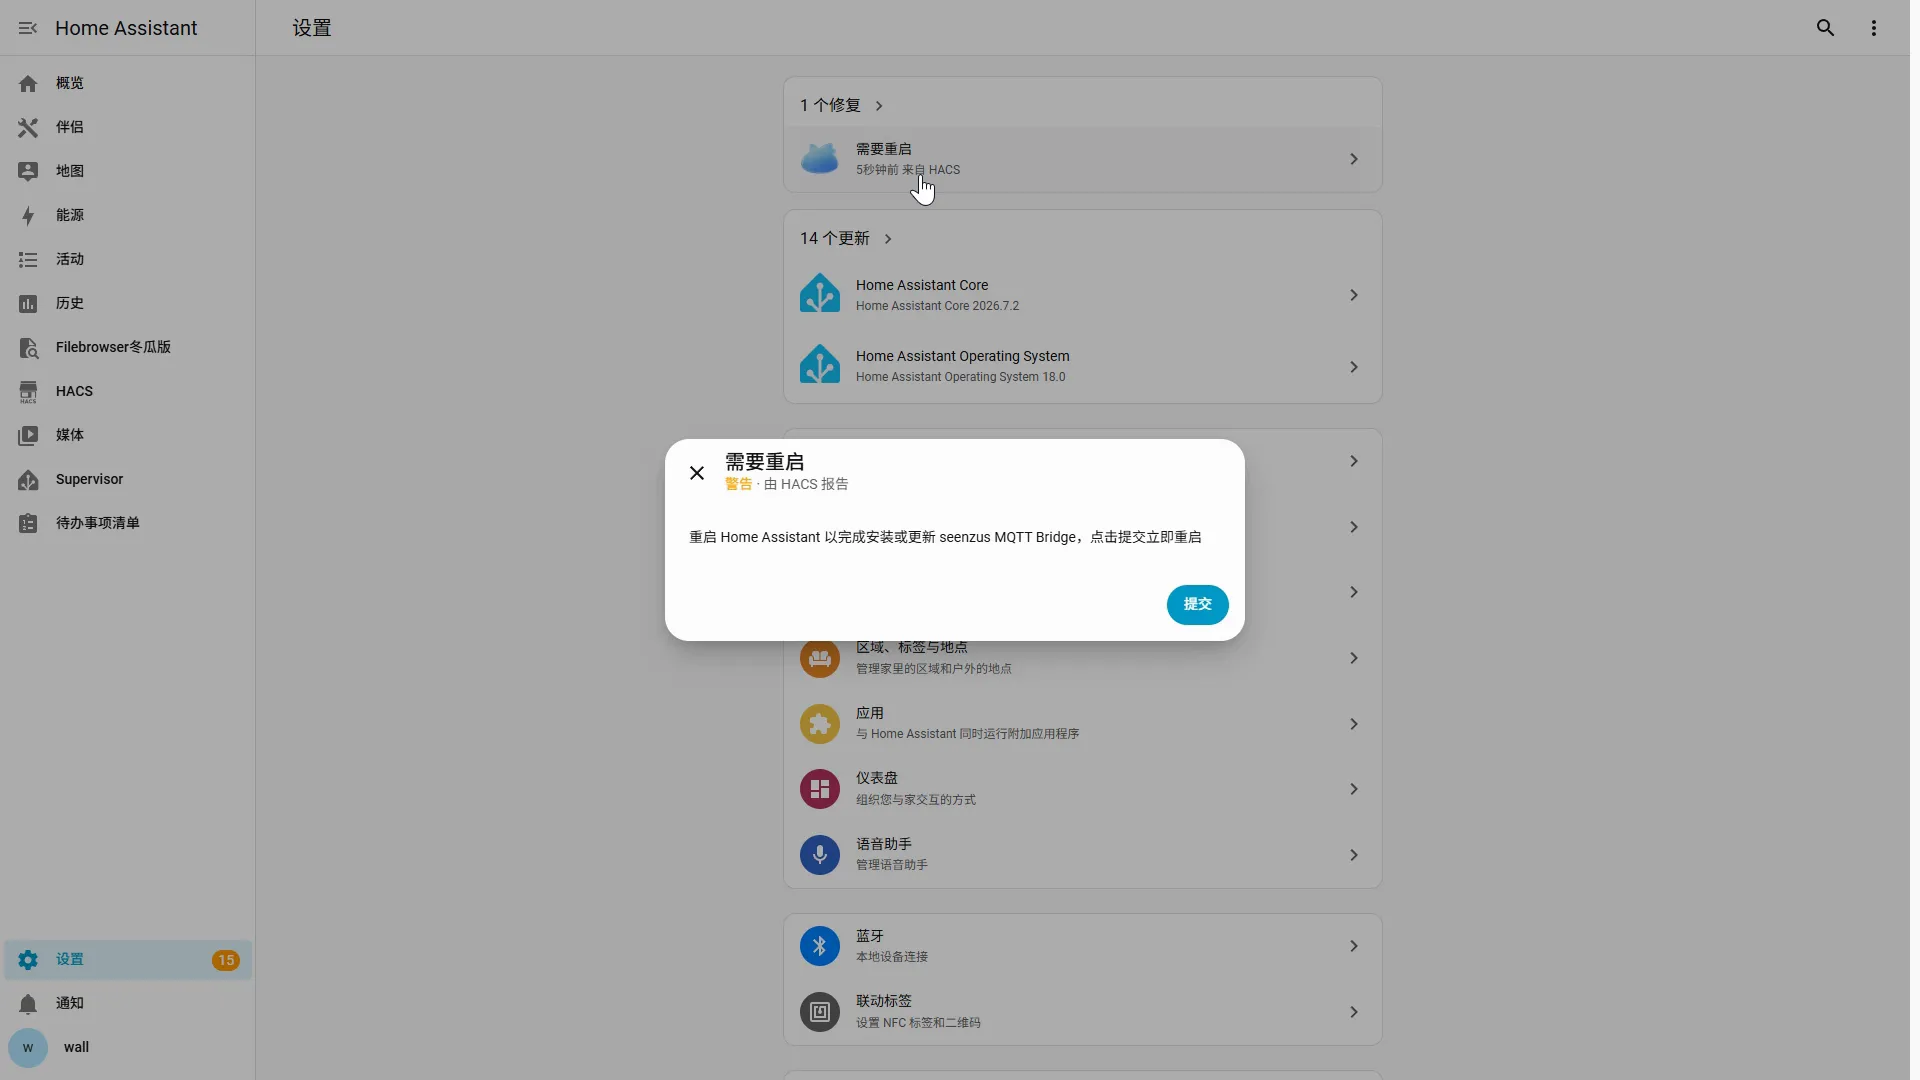
Section titled “下载后:重启 Home Assistant”Bridge 只有重启后才会生效。请重启 Home Assistant;刷新网页或单独重启集成都不算。
- 打开「设置」,点击顶部的「需要重启」;
- 在弹窗中点击「提交」,等待 Home Assistant 重新打开。
没有看到「需要重启」时,前往「设置 → 系统 → 右上角电源菜单 → 重启 Home Assistant」。
验证安装成功
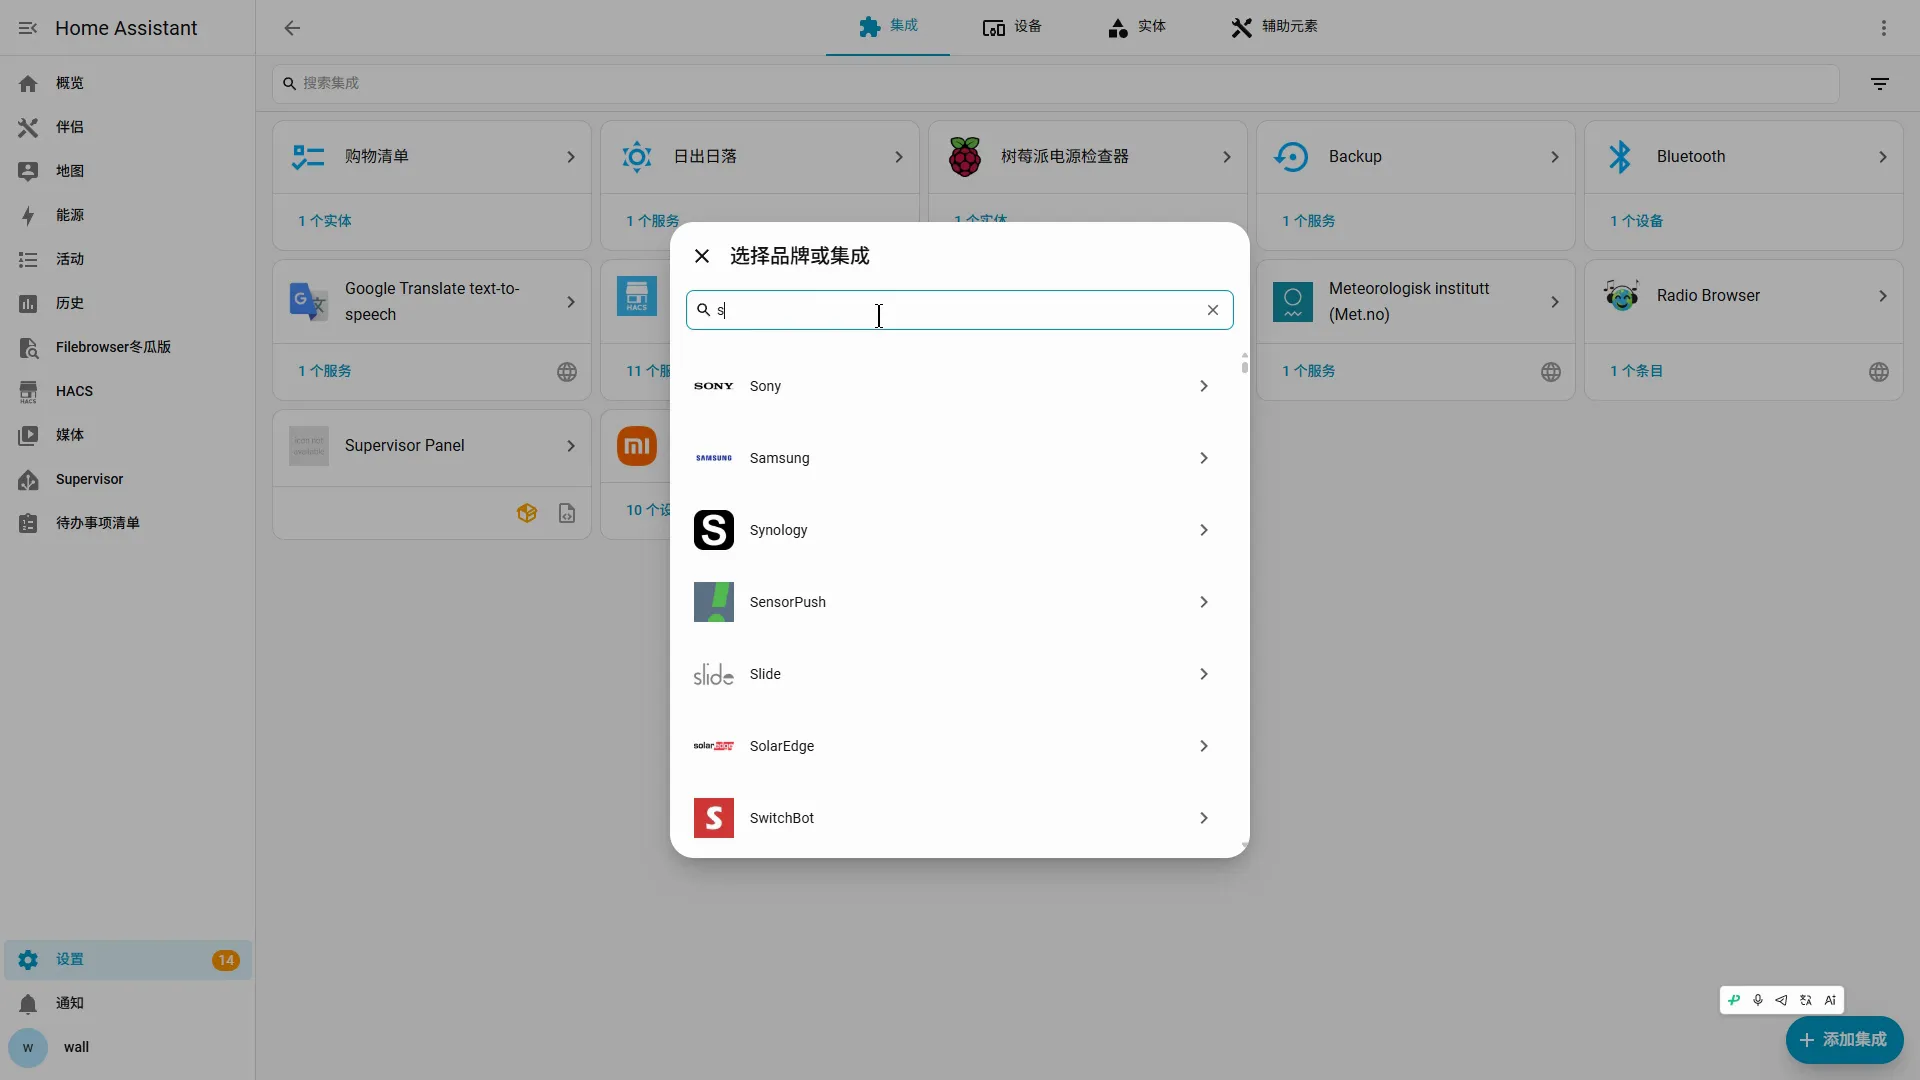
Section titled “验证安装成功”重启后打开「设置 → 设备与服务 → 添加集成」。
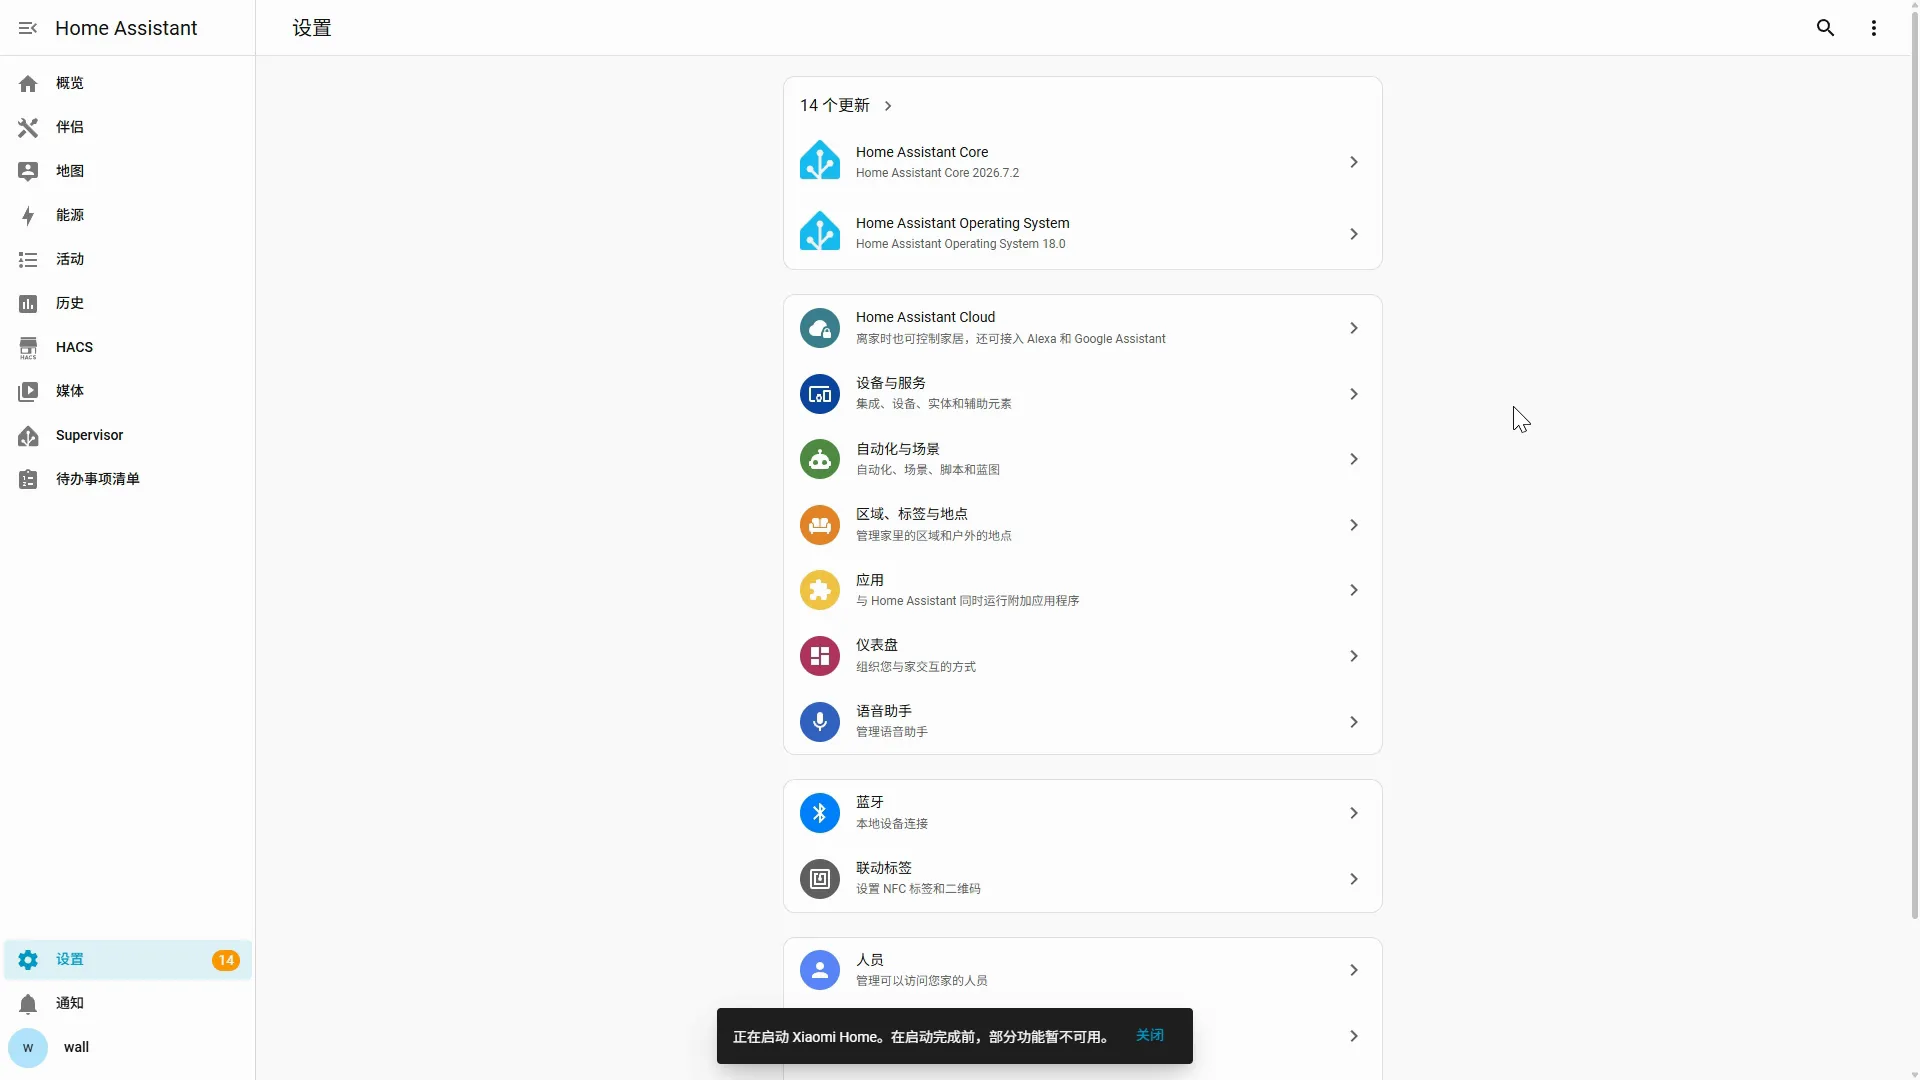
搜索 seenzus MQTT Bridge;能搜到就安装成功,不要在这里继续创建。